I replaced my snout seal because it has been spitting out a fine mist of stuff all over that area for the last year or so. I bought a new seal from ZZP when I did my cam and stuff about a year ago but couldn't put it on because I had no puller for the pulley.
I got ZZP's factory style replacement and I found out only after I finally pulled the s/c pulley off a few days ago that it's not exactly OEM. Actually, it's not even close... and in my case it didn't even work!
Anyway, to change the snout seal, you need to remove the pulley (stock or otherwise) and then basically pry it out. The factory one is built very much like our front crankshaft seal. The outter circumference is metal with paint? on it and the inner sealing surface is a rubber sleeve that is kept by a very fine circular spring. Note that you do not need to remove the s/c from the car or take apart the s/c other than the pulley to change it but once the seal is out, the oil inside the nosedrive can potentially pour right out. I don't know if it actually will while installed on a level car so keep that in mind. I did it off the car sitting straight up so obviously I didn't loose any oil.
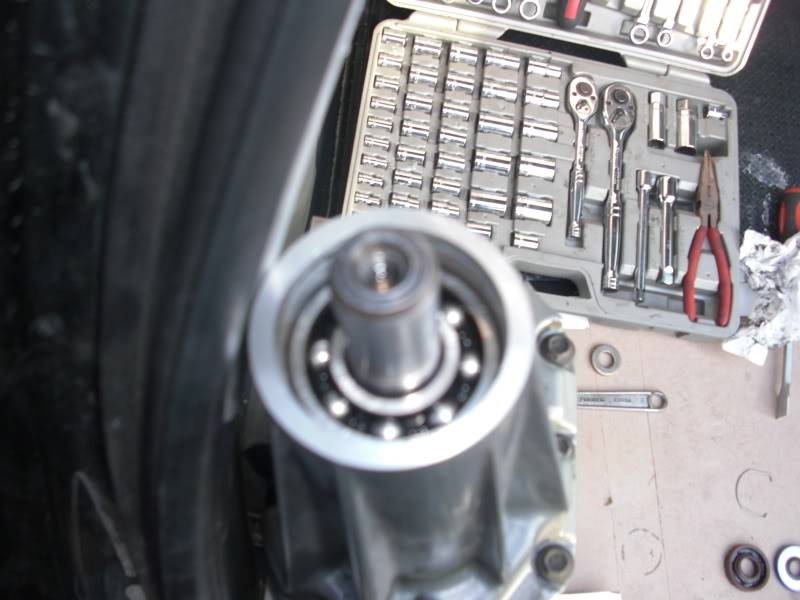
First, remove the retainer clip. It's self explanitory. I don't know if there's any perfect technique to prying the seal out but it's not too hard nor too easy. I basically punctured the rubber sealing surface right around the shaft and carefully pried it upwards off the shaft. That is really the only soft part of the seal so that's probably the only way to go but be careful not to hurt the shaft its self. It's a hardend shaft so it's pretty safe to have a screwdriver around. Once the seal is out, it will look like this \/

Do your best to clean this area. There will probably be some bullshit left on the inner wall of the snout from the seal and maybe a chunk of rubber here or there from hacking at it with a screwdriver. I just wiped everything away with a rag and worked any stubborn pieces of paint (or whatever) from the walls. No big deal
Now back to the replacement seal issue...


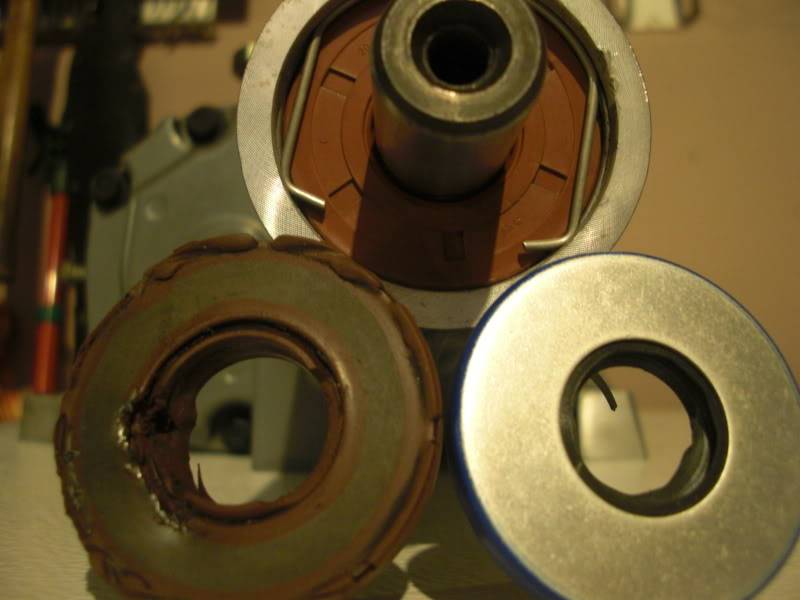
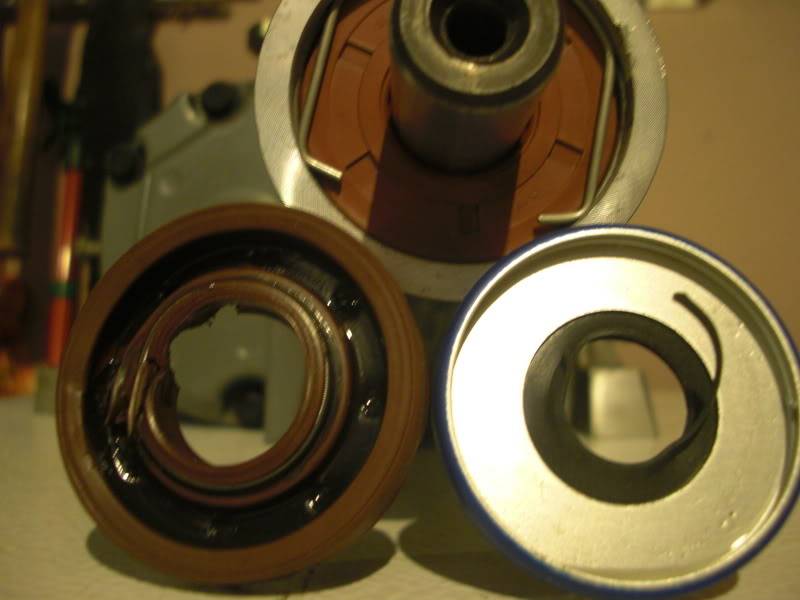
To the bottem left, is the old seal I took off my blower. Lower right is the replacement I bought from ZZP about a year ago. The top one installed on the snout is the one I just got from intense. As I said above, the ZZP one didn't work for me. The material that is supposed to seal against the shaft was more like plastic or hard paper than rubber which made it virtually impossible to install without tearing it (as you can see by the pictures) even if you lubricate it. The replacement from Intense worked just fine. It slid right onto the shaft (I lightly lubed it with new GM s/c oil) and then you can press it into place with your fingers. You have to push it pretty hard though so if you have weak fingers, use something to help. When it's all the way on, you won't be able to push it any further and you will be able to fit the retainer back into its groove. Piece of cake!

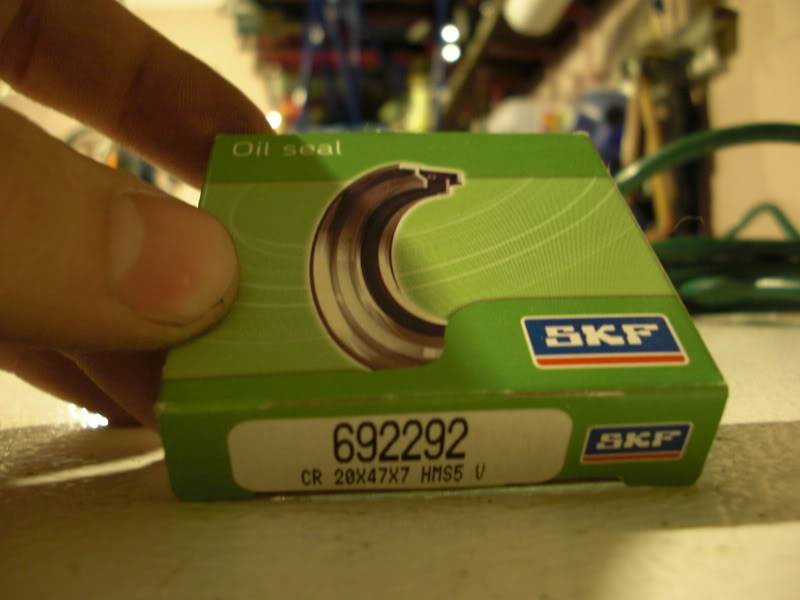
That's what you get from Intense btw. It isn't too fancy but it's a lot more like the original design than the cheap piece you get from ZZP. Note that I may have just gotten a deffective part from ZZP but it's still a more crude design than OEM.
Note that if you need to replace this seal, that means you probably need some s/c oil too. After about 15,000 mi of driving with my failing seal, I lost about 2oz of oil through the seal - not a ton but enough. I would suggest just to change the oil while you're doing it though.


