This is a write up for changing the radiator cooling fan motors. This task was completed on a ’95 model Riviera with 130,000 miles. However, I believe 95-99 will be similar if not identical. I noticed the fans were squeaking to a stop after I would shut the engine off. Also, the car was running a little warmer than it should when sitting idle in traffic.
Replacing the fan motors is a fairly simple project, but I took notes and pics just in case someone wanted a reference for this task. I bought the fan motors from AutoZone. One was $23 and the other was $29.
Siemens part number: PM-538 (Driver side)
PM-517(Passenger side)
Tools and supplies needed:
3/8” Rachet
3/8” extension
½” socket
8mm socket
10mm socket
13mmsocket
Small common screwdriver
Torque wrench (in lbs)
¼” Plastic retaining fasteners (optional)
2 cans spray paint (optional)
Now that you have your tools ready, let’s get started. Remember it’s always best to work on a cool engine (and I do mean temperature cool, smart ass

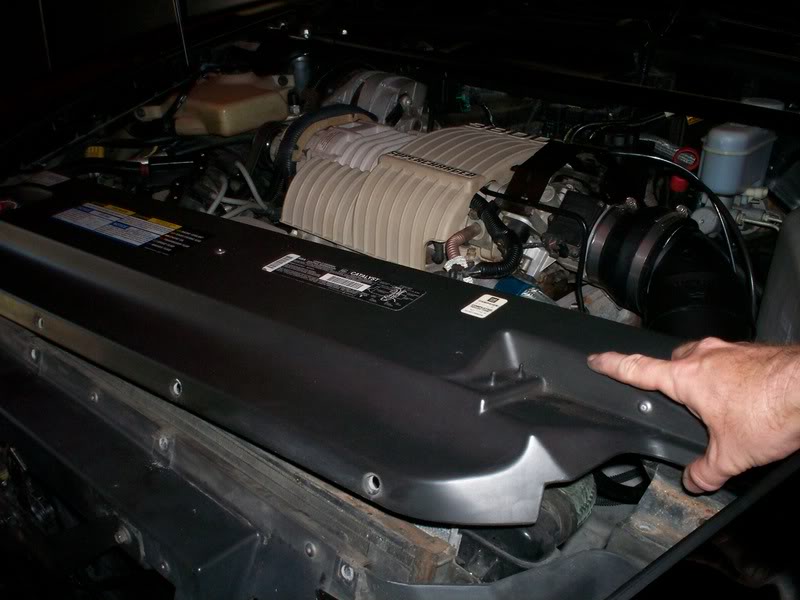
). Remove the12 bolts holding the top radiator support cover. Next, you will need to remove the four two part plastic retaining fasteners holding the radiator overflow hose. The hose is attached across the back side of the radiator support cover. If you are careful you can lift the center pin up and the fastener will release. I chose to replace these fasteners with new ones because 1.) I usually break half of them because they become brittle over time and 2.) New fasteners will hold tighter and they only cost two dollars for a package of them. After removing the fasteners, carefully set the cover off to the side.

Unplug fan motors. You may have to use a common screwdriver to gently lift the plastic locking tab on the electrical plug as you unplug the wiring from the fan motors.
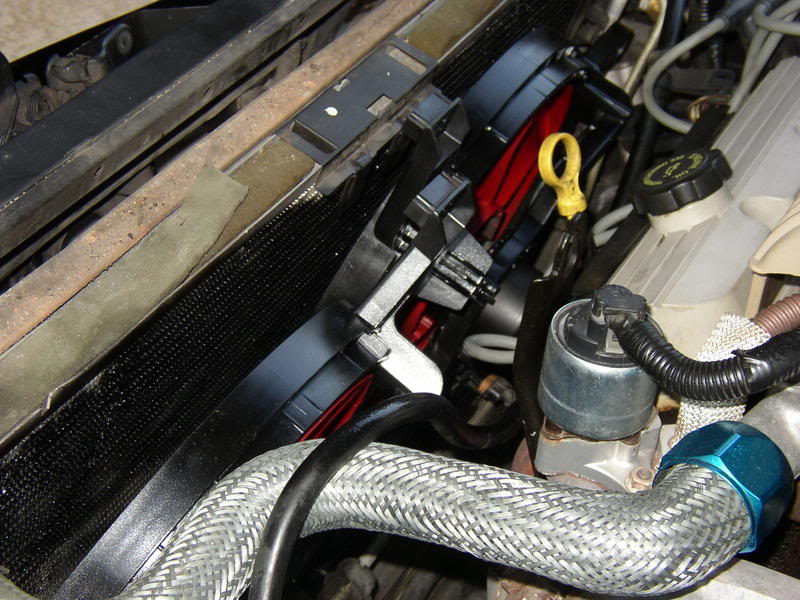
Remove the four bolts across the top of the fan assemblies. The fans are individual units and not a one piece assembly. The fan assembly rest on tabs in each lower corner of the assembly.
Once the four bolts are out across the top, you can easily lift the assemblies out of the engine compartment. Keep track of which side the assemblies came out of.
NOTE
The nut holding the fan to the motor is a LEFT HAND THREADED NUT.

Remove the fan from the fan motor and set fan to the side. Remove the three bolts holding the fan motor to the housing. Slide motor out the back side of housing.


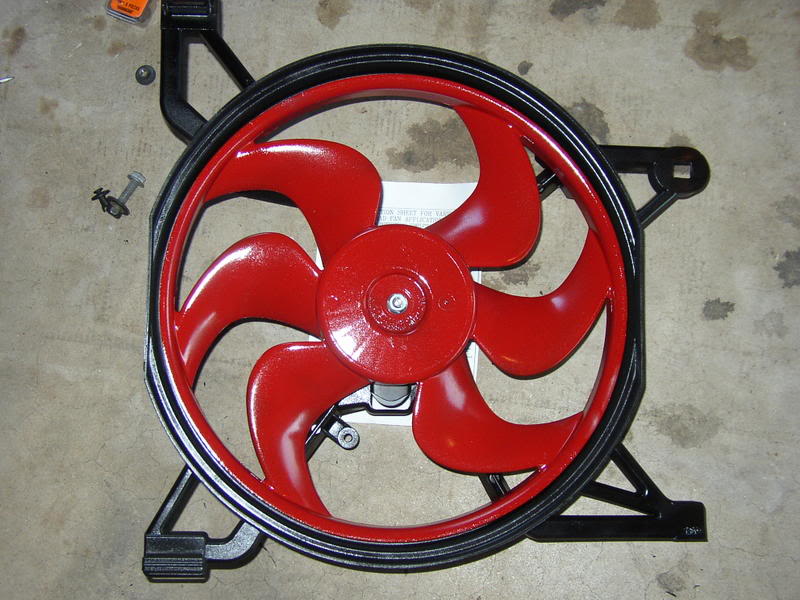
I took this opportunity to clean and repaint the fans,
housings, and shelf in the engine compartment where the fan assemblies
rest. This step will add a lot of time to the project but I felt the results were well worth the extra time and effort.
Install new motor to the housing with new hardware supplied with fan motor.
CAUTION
**DO NOT over torque fan shaft nut. Torque to 25-30 in lbs. The motor will bind and fail if nut is over torqued LEFT HAND THREAD**
Attach fan to motor referencing the CAUTION notice above.

Repeat process for second fan assembly.
Install fan assemblies in reverse of removal instructions.

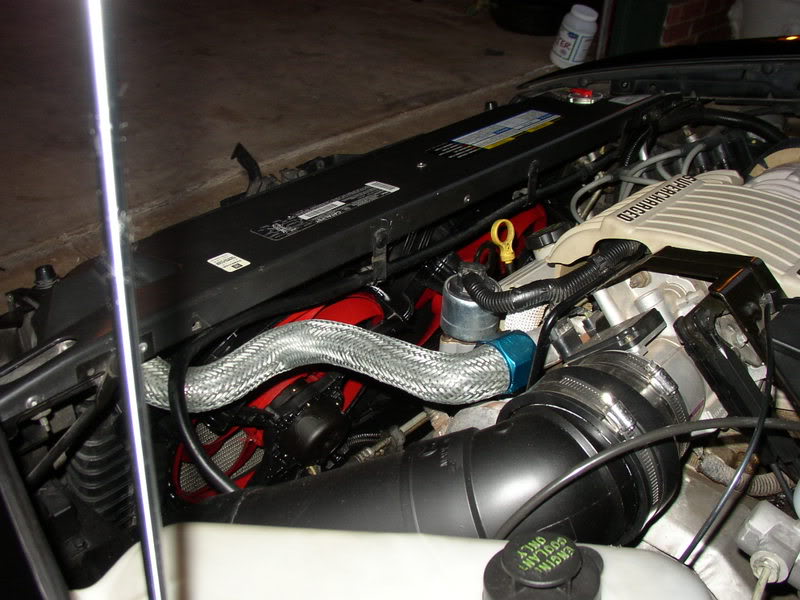
Here is a picture of the completed project.

After driving the car I’ve noticed that the temperature stays in the 180 degree range (180 stat) even while idling in heavy traffic. Good luck and have fun with it.


