turtleman
Expert

Name : Codith
Age : 36
Location : Villa Park, IL
Joined : 2007-02-08
Post Count : 3671
Merit : 140
 | | Subject: Write-Up: S/C Port & Polish Sun Sep 20, 2009 2:53 am | |
| I've decided to give the porting & polishing a whirl on my genV. So far, it's going pretty well. With the right tools and some great patience, you can do an expensive procedure yourself with same or better results than the vendor products, depending on how much you want to put into it. I am going for all out. I plan to have every surface on the inside of the blower smooth as glass (which is a little more work than the vendors normally do to my knowledge. If you have someone do it on the side, the workmanship varies greatly. If you are going that route, have a good idea of what you want and what he or she will do before you give them your blower. 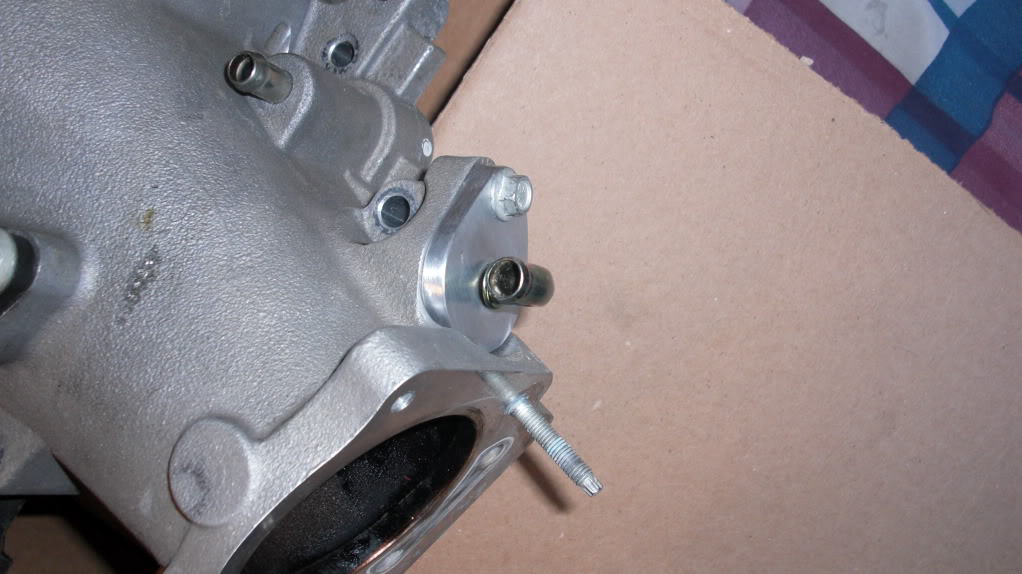 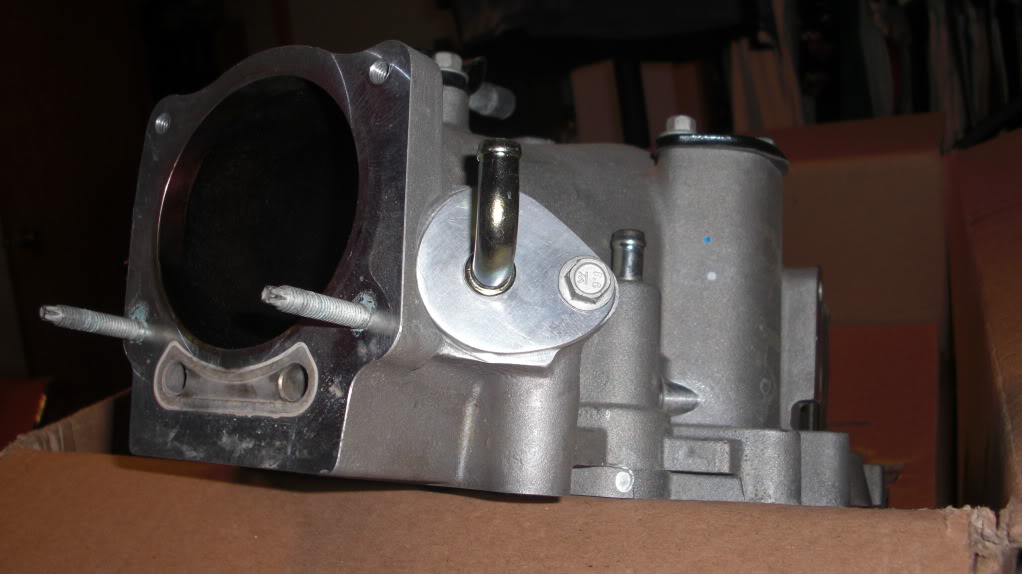 The two above pictures are of the inlet of my genV before I started. I really didn't take any good pictures of how the inner surface looks but basically it's about as rough as most of the outside. This passes but if you want the most out of it, smooth is better. So that is the object - very simple. We just want to smooth the surfaces. If done right, there should not be any sizable change in the shape or design of anything. Other than that, there's a few other things that can be done such as opening the inlet up to a larger size to fit an oversized throttle body. The outlet of the blower is kind of a totally different job than the front. For the moment, I'm just going to focus on the inlet. 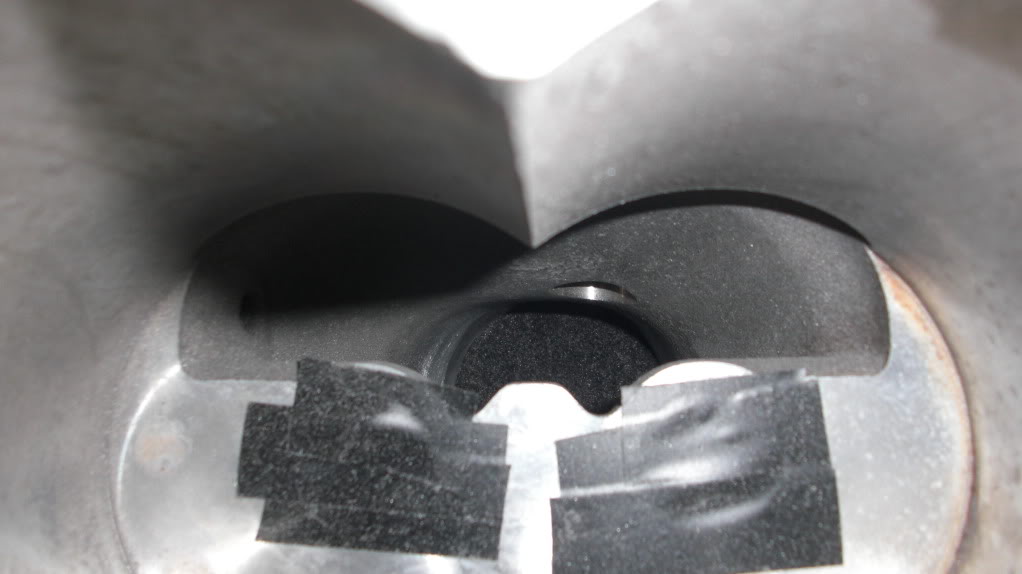 Like pictured above, the first thing you want to do before touching anything else is cover up the two rotor bearing cavities. I used electrical tape. When you start, you'll have dust everywhere in there before you know it. On that same note, be sure to use a respirator and safety glasses. Aluminum fumes are rather bad for you to breathe in. 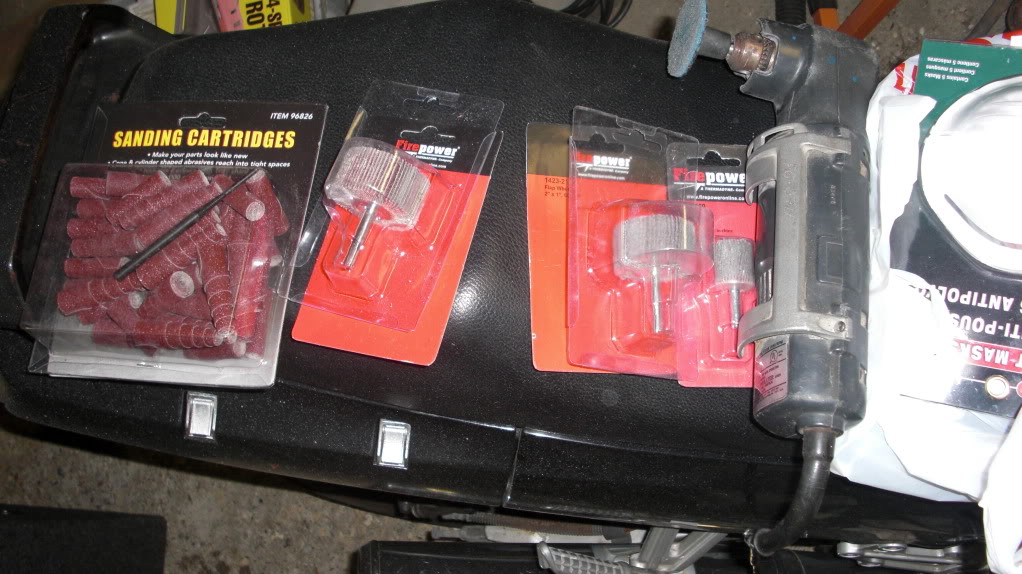 Since this is my first time ever really doing this, I just bought a bunch of different types of abrasives to carefully try. I intended to use a dremel but so far, I've been using a drill. As seen in the above picture, I've been very happy with the results using the sanding tools in the red packages. I tried using the sanding bits at the left and wasn't nearly as happy with them. I'm going to continue using the ones pictured in the middle. Those ones happen to be 60 and 80 grit. That's what I started with. What's not pictured are the grinding stones I used to remove most of the lip on the inlet of the blower. Refer to stock blower pics to see that. Getting rid of that just makes sense to me. It opens the inlet up about 2mm or so but more importantly, it gives the rest of the p&p process on the inlet somewhere to start. I suppose you could leave the lip but it isn't going to make anything any easier for you. I used a pretty fine grinding stone to take that down. If you used any sandpaper bit, you would be there quite a while. Just be very carefull with grinding stones because they like to jump sometimes and you can quickly grind surfaces you don't want to, depending on the shape and angle of the bit. Also, grinding stones can sometimes shoot some pretty uncomfortable debis out so wearing gloves while using those is not a bad idea. 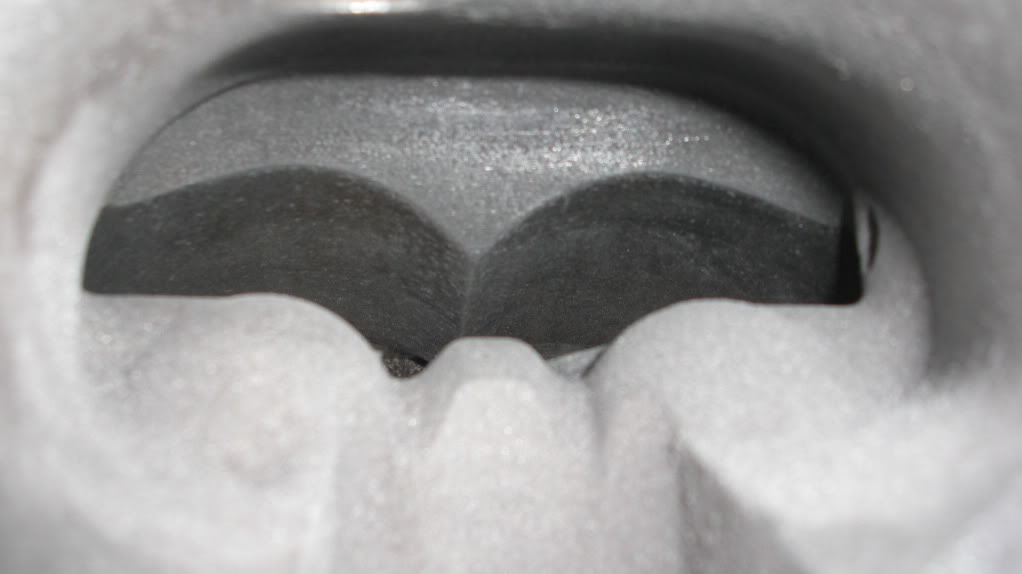 the deep part of the genV inlet Here's some of the pics of the blower after some work. 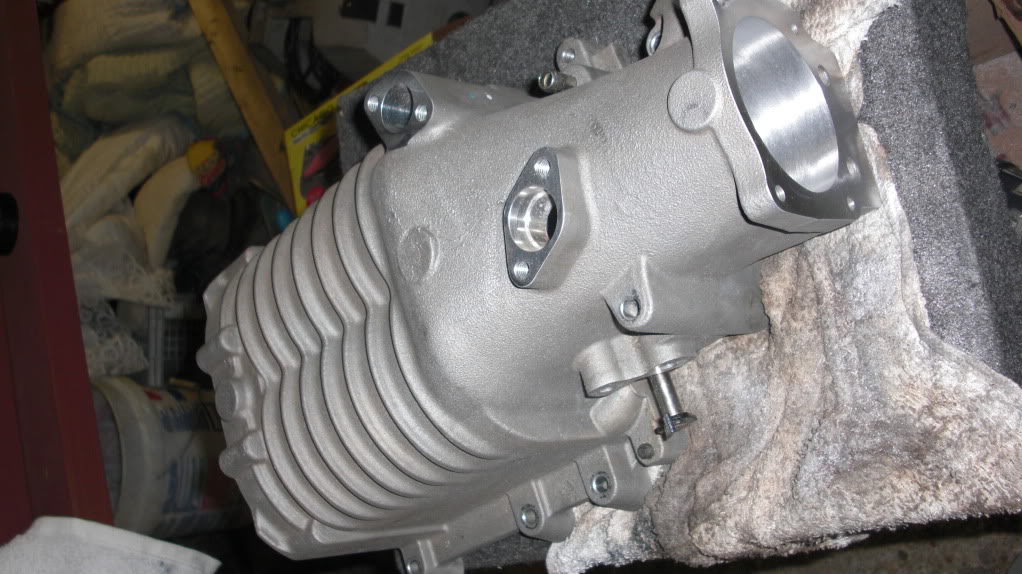   The above 3 pics are after the 60 grit sanding bits IIRC 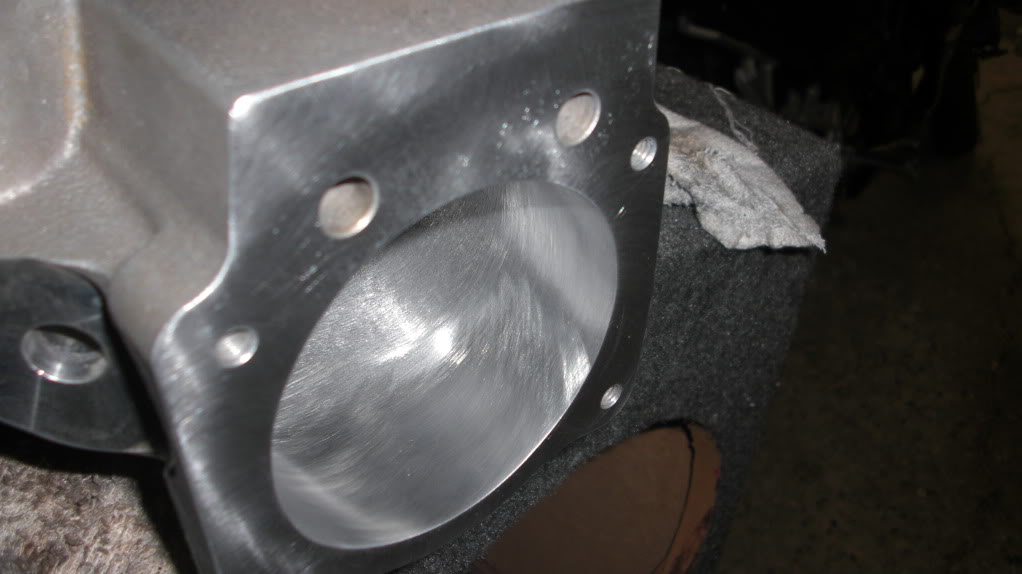  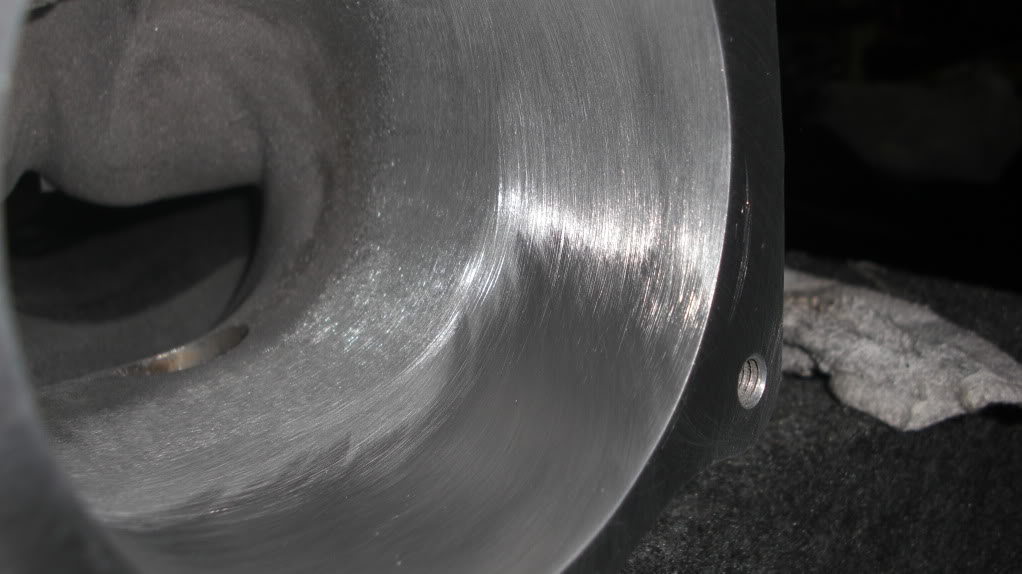  The smooth part in the above 4 pictures is pretty much me testing the poilshing pads after the sanding. I got a small kit that has a course and fine finishing discs. It didn't take too much effort to make the surface smooth as glass to the touch from that point. For some early thoughts, I would say that if you have some time and will, this is probably worth doing. The surface is a lot better the second you touch it with sandpaper. Again, you don't have to go crazy and turn it into a mirror on the inside to get a gain. I will update as I progress and learn. I'd love to hear thoughts and suggestions and I'll answer any questions I can. | |
|
turtleman
Expert
Name : Codith
Age : 36
Location : Villa Park, IL
Joined : 2007-02-08
Post Count : 3671
Merit : 140
| | Subject: Re: Write-Up: S/C Port & Polish Sun Sep 20, 2009 3:37 pm | |
| |
|


