I just finished doing this exact job without realising that there was already a write-up for it. I realize most Riv owners have moved on to better head units, but I like the look of the stock unit, especially at night when it’s all lit up in relationship to the rest of the dash and interior. Paul has done a great job, but hopefully people can benefit from my contribution......
Here’s the unit…

Pull the volume knob off, followed by a spring and the volume indicator

Gently lift up on the eight tabs holding the interface to the unit. All eight will have to be slightly off for it to come off.

Remove the bottom cover by removing the one 3/16 hex head screw and then lifting up on the screw side.
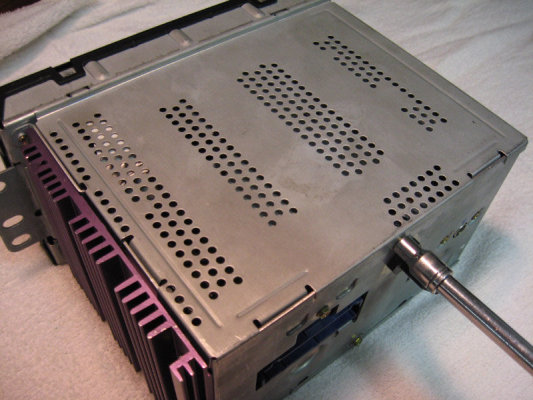
Now you will have to remove the cassette player unit from the head unit, it is held on with either three or four 3/16 hex head screws depending on the year.
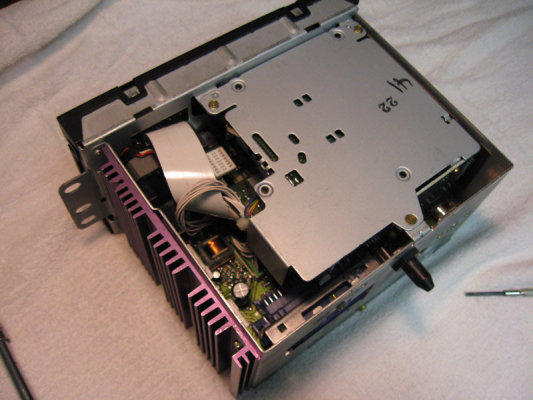
With the cassette player removed, place it to the side, or have a friend hold it while you pull out the two plugs that hold it into the head unit.
NOTE: In some models you will have to first remove the ribbon as some cassette player plugs are located behind the ribbon.
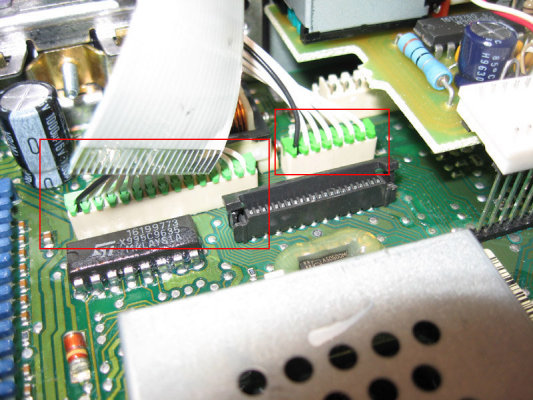
To remove the ribbon, slide a small flat screwdriver under each of the black tabs that are on either side of the ribbon that connects the head unit to the front interface. With the locking tabs lifted up, you can now pull out the ribbon that connects the head unit to the front interface.
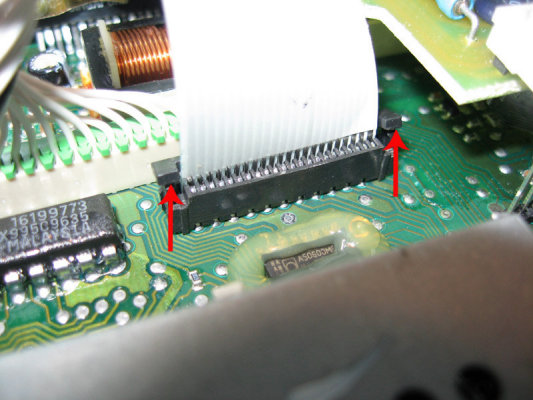
With the ribbon released, you can now separate the board and interface from the unit.
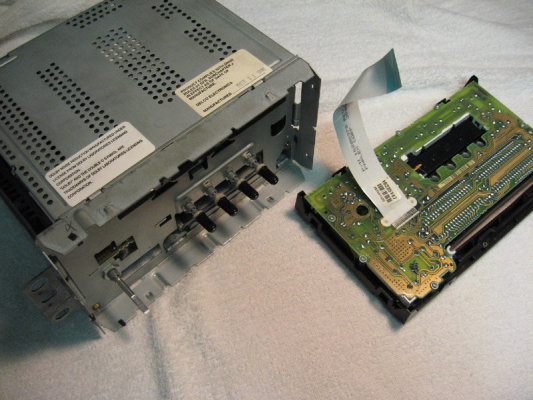
To separate the board from the user interface, you have to remove a few small Philip screws. Think there are about eight or nine of them. One is underneath the ribbon. Make sure, when you separate these two that the interface is always kept face down, otherwise all the little buttons and plastic bits will fall off as nothing is holding them in at this point. And it is quite a puzzle to put back together.
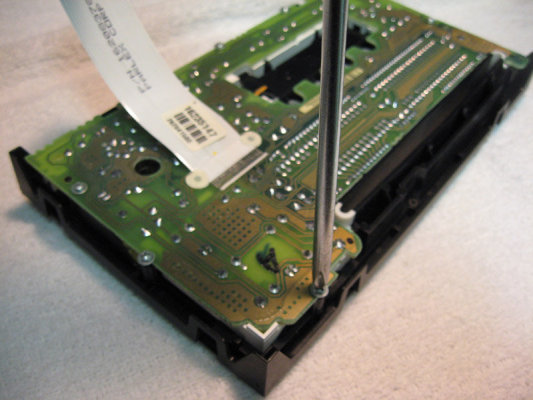
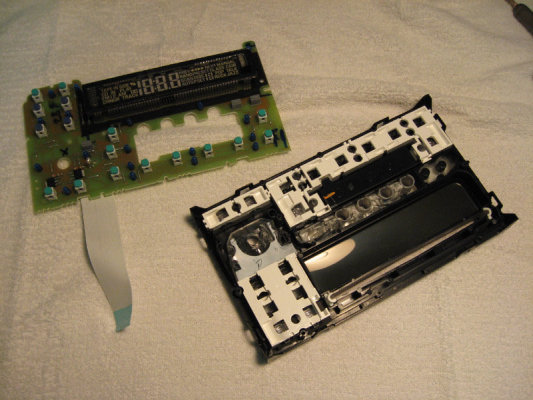
Here you see the display board and the back of the user interface.
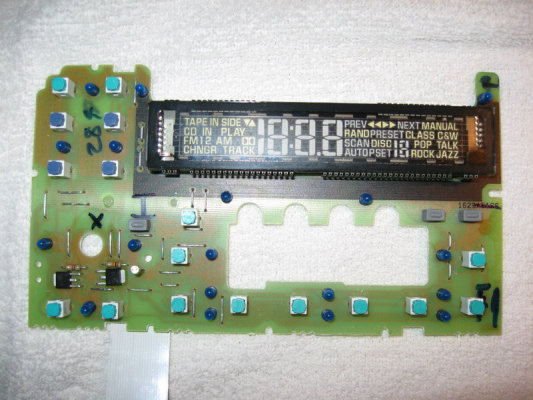
Here is what the display board looks like, there are a total of 18 lamps to replace. You can go ahead and just replace the lamps that are out, but I decided to do ‘em all.
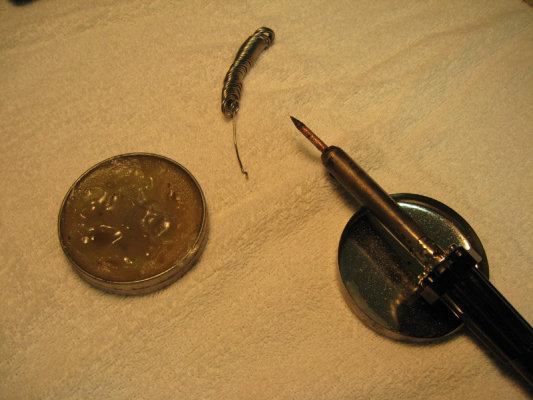
Here are the tools you’ll need to extract and install the lamps. Soldering Iron, solder paste and the solder itself.
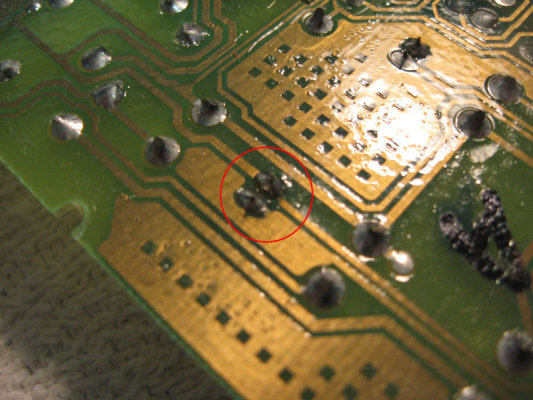
On the back of the board behind each lamp you will see the two “feet” that are soldered into the board. They are pretty close together, so be careful when heating up the old lamps and soldering the new ones into the board so that you don’t solder them together.
Basically, you need to heat up the back of each lamp prong while pulling on the lamp on the other side, eventually the lamp will come out.
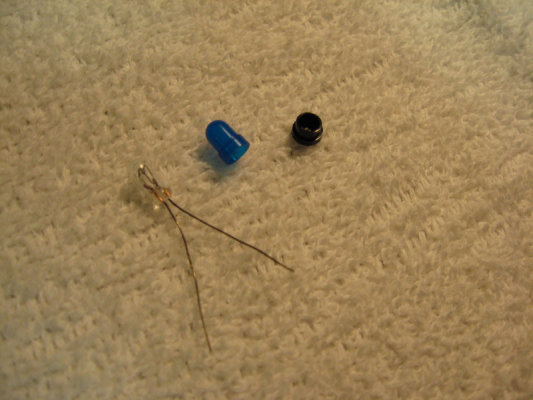
These are the bulbs I bought. They are 3mm 12V automotive lamps that I bought from an electrical supply store. The blue condoms have to be removed from the old lamps and re-used here. The black pieces are the bases that I also separated from the old lamps and re-used with the new ones. They will keep the lamps flat and stable on the board.
Hopefully that helps someone out. My dad and I have figured out the problem on the tape players too, but we need to find a replacement gear to test it, if people want, I can do a write up to repair the tape decks once I have it. Cheers


