In order to Read, Edit and Burn chips for our PCMs, there is a few pieces of hardware needed:
1. Burn2 Chip Programmer/Reader ($85)

This will allow you to read and write chips with TunerPro. It comes with a cable to connect to your computer via USB.
2. HDR1 Memcal Header ($10)

This allows you to read the stock chip without disassembling the stock Memcal so you can avoid damaging it. It converts the Memcals pinout into a standard 28 pin chip layout which can plug right into the Burn2.
3. G4 Memory Adapter ($40)

This bypasses the stock chip without affecting the rest of the Memcal's functions. This way, you dont need to take apart the stock Memcal to put in a new chip.
4. C2 27SF512 Chip ($5)
28 pin chip that replaces the stock chip. I believe these can be erased and rewritten if you want to change them as well.
These 4 items and TunerPro RT are all you need to read and then write a new chip for your PCM.
All can be bought here:
https://www.moates.net/
I have gotten fantastic service from them and highly recommend their products.
A few other goodies that I bought that I feel are a good investment:
Ostrich 2.0 ($175)
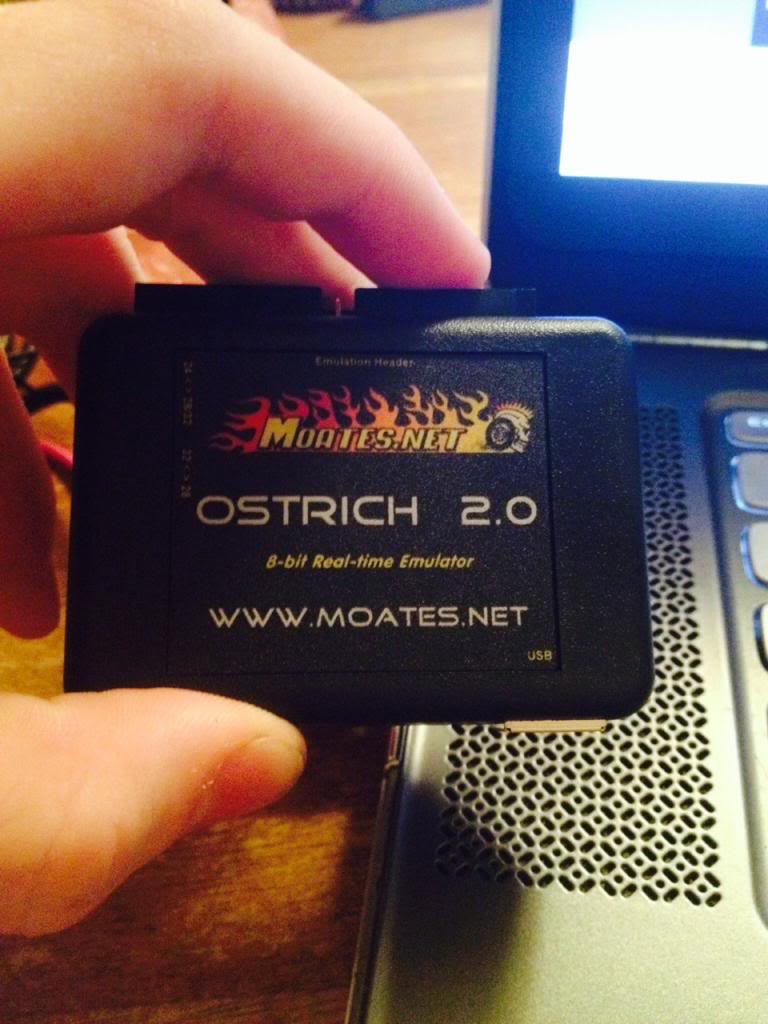
This is a Realtime Emulator that conects right to your PCM in place of your aftermarket chip. The car reads its program directly from your laptop and will feel any changes you make as soon as you enter them. This is very handy for testing and fine-tuning before burning a chip.
2-Timer ($30)

This can be wired in and allows you to switch between chips on demand. You can change tunes via an external switch. Not sure how difficult this will be to install but its certainly an interesting product.
I also recommend getting a 28 pin ZIF socket. This allows you to lock the chip in place or release it so it slides out easily. This will keep you from damaging a chip when playing with it to get it out.
REMOVING THE PCMThe PCM is located behind the glove box and above the passenger kick panel. To access it, you can just remove the kick panel from below and you will see two metal boxes. The one closest to the passenger compartment is the PCM. I removed the whole unit to make it easier to disassemble. You can remove just the PCM if you dont mind working in the cramped space though.
To remove the unit, you must unplug all wires that plug into the bottom of both boxes. There should be 5 plugs and they all are removed the same way. Push the tabs on the sides inward and pull straight down.
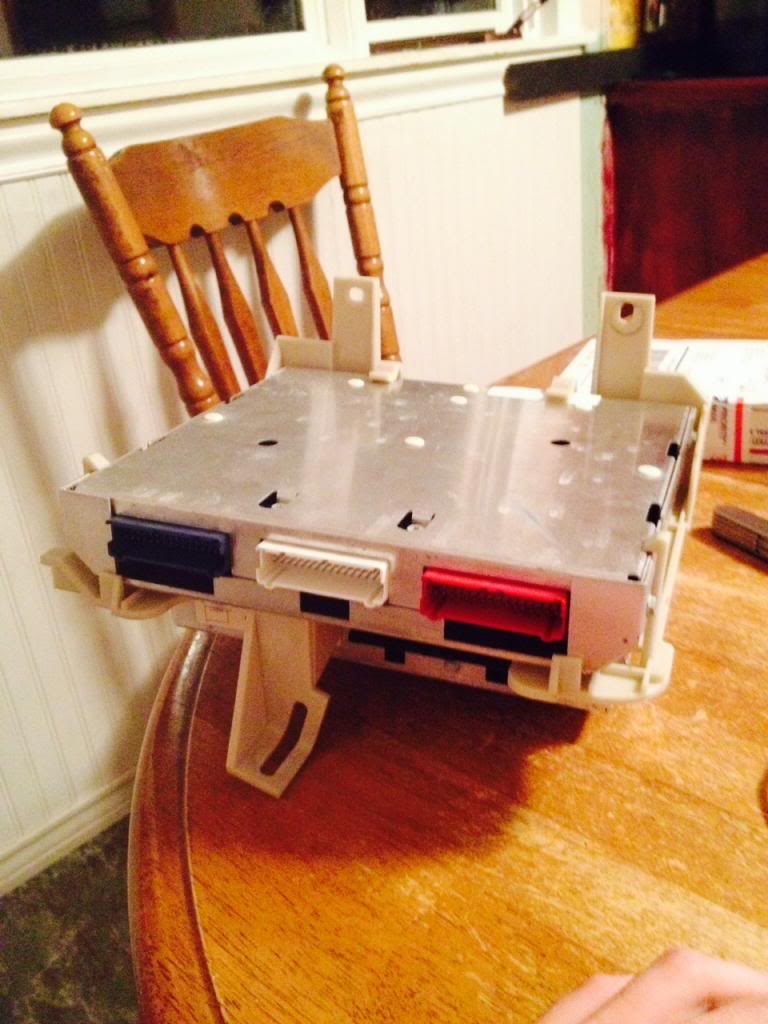

After removing the wires, there are 3 bolts holding in the unit. 2 at the top and 1 that was hidden behind the wires.
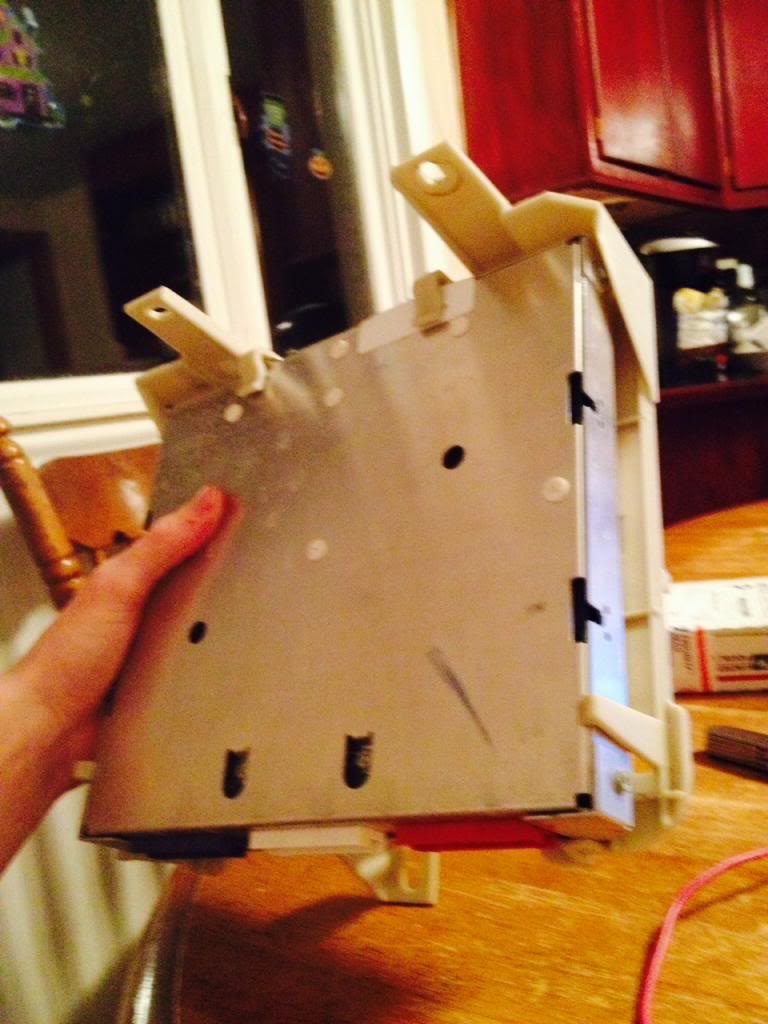

After that, everything should pull right out.
Next, remove the PCM from the plastic holder.
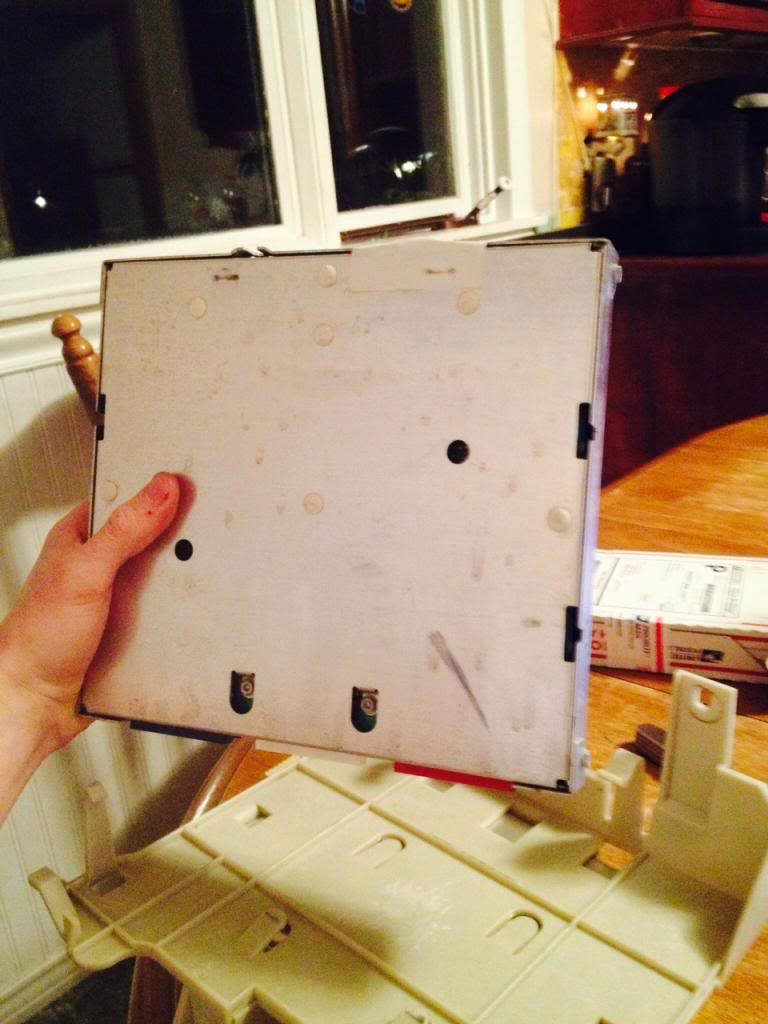 REMOVING THE STOCK MEMCAL
You'll notice on the back of the PCM, there is a plate held down with 2 torx screws.
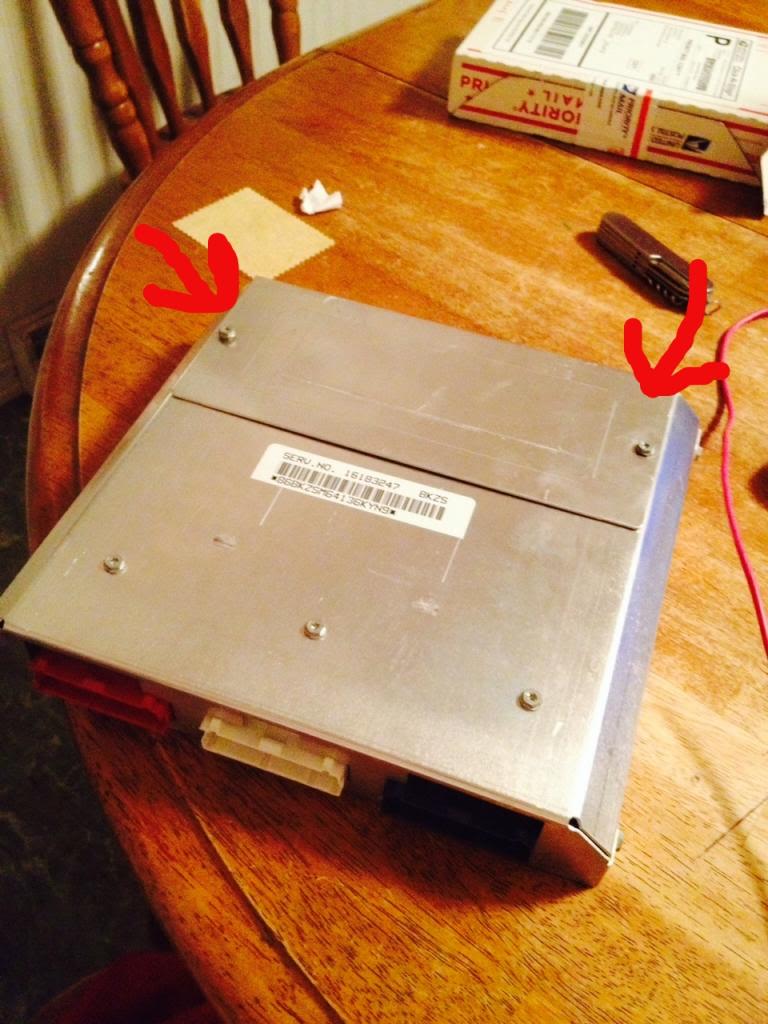
Remove those, and under that piece you will find the stock Memcal.

Pushing the two tabs on the outside of the blue box, the Memcal should be able to wiggle right out.
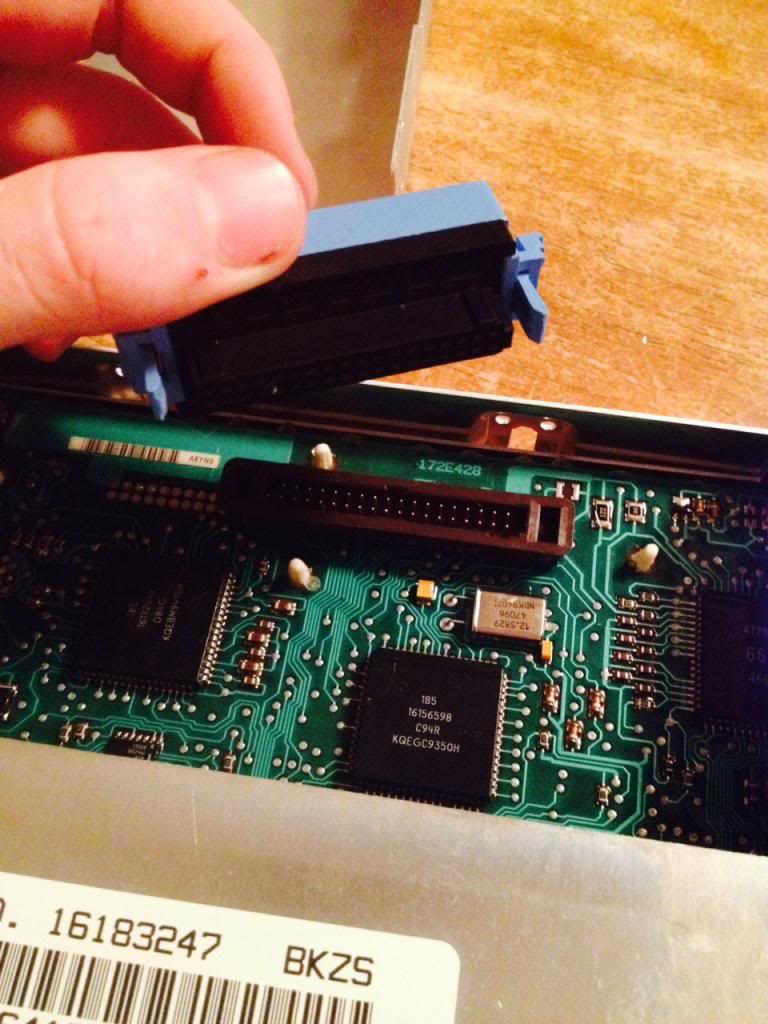 READING YOUR STOCK CHIP
To read the stock chip, you will need the Burn2 Programer, the HDR1 Memcal Header and your Memcal. To start, pop the blue top off of your Memcal.
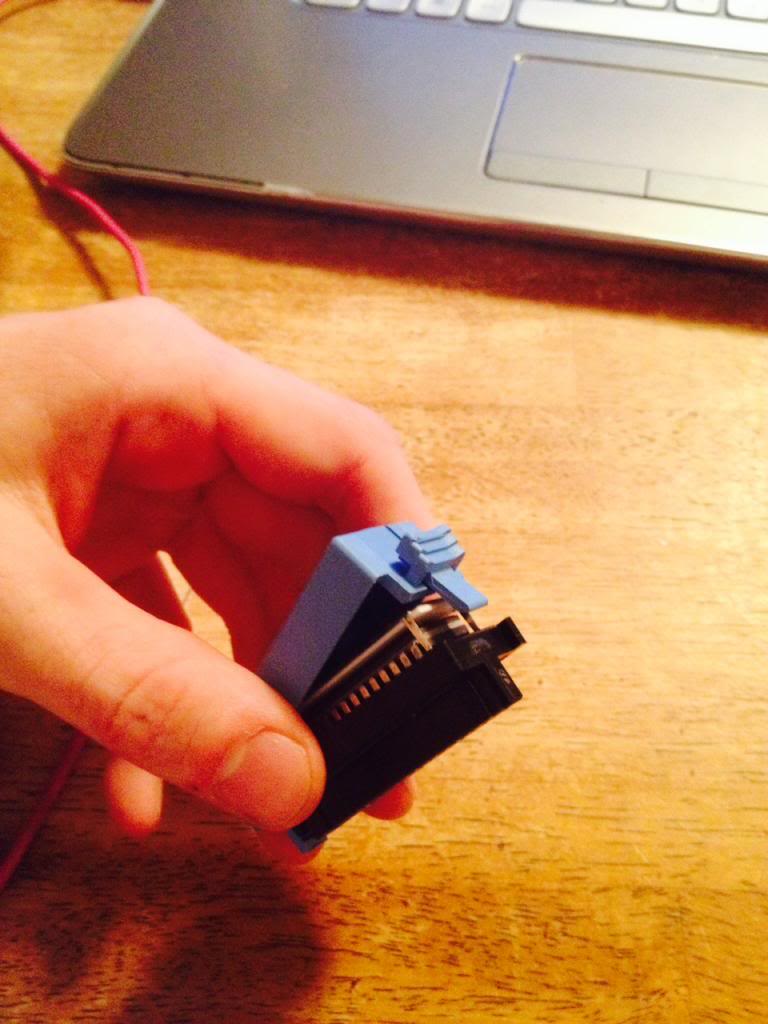
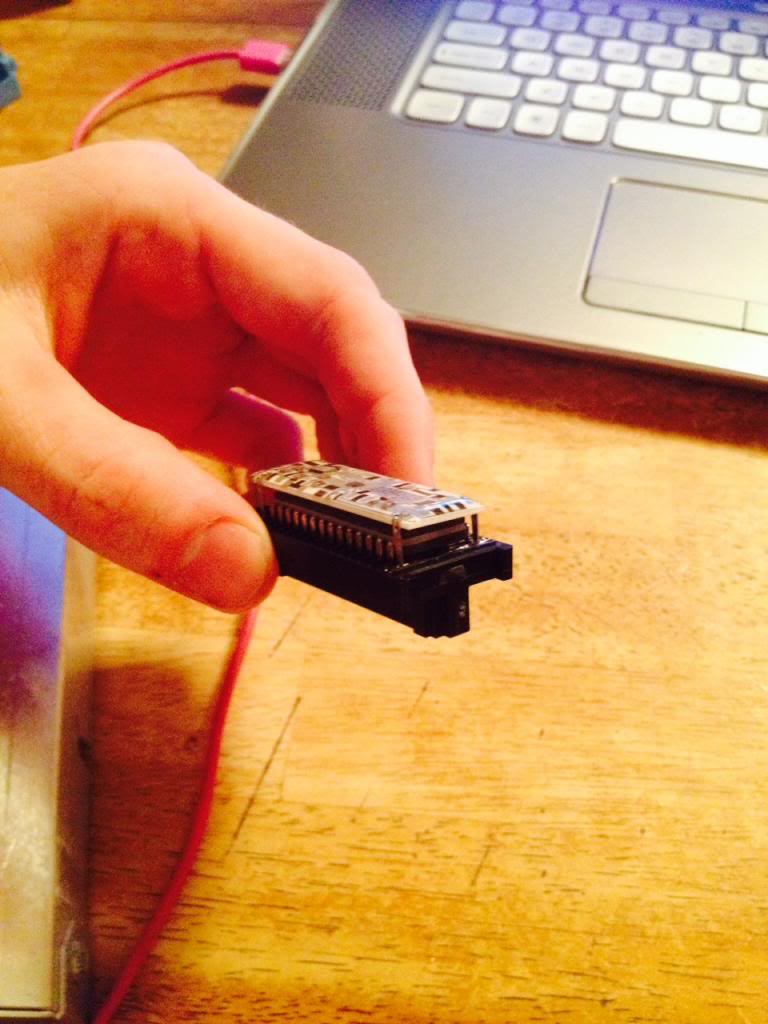
That circuitboard over the chip is the Knock Sensing Board. You'll need to note which pins go into which slot and which end of the chip has the notch in it. You'll want to connect only to the pins of the chip and not the ones coming from the knock sensing board.

The end of the knock sensing board with 2 pins per side, also has an open slot at that end so be sure to account for that. The chip starts one space in from the side of the knock sensing board with only 1 pin.
Next, insert the HDR1 Memcal Header into the holes that correspond with the chip.
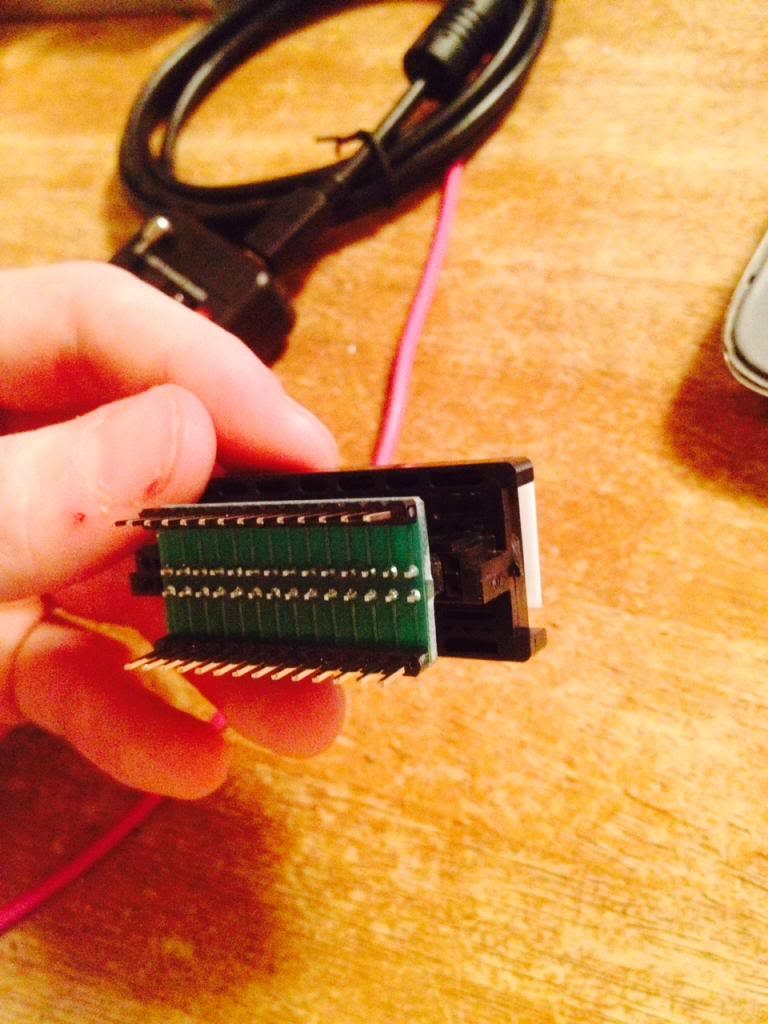
After that, the HDR1's chip pinout can go right into the Burn2.
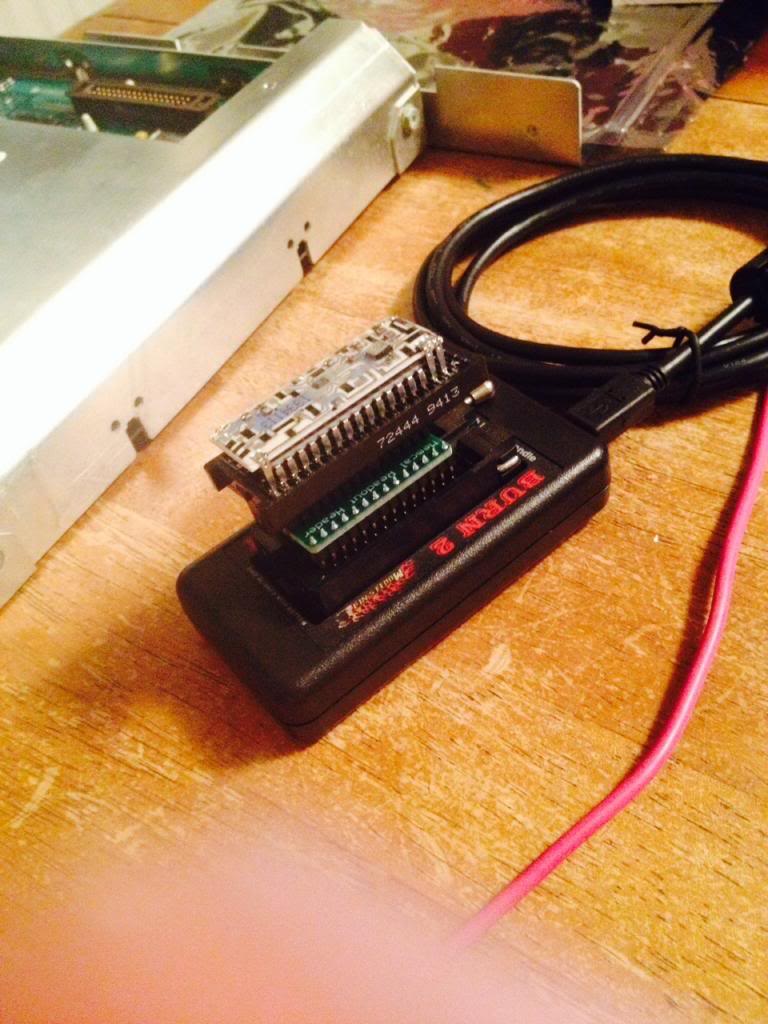
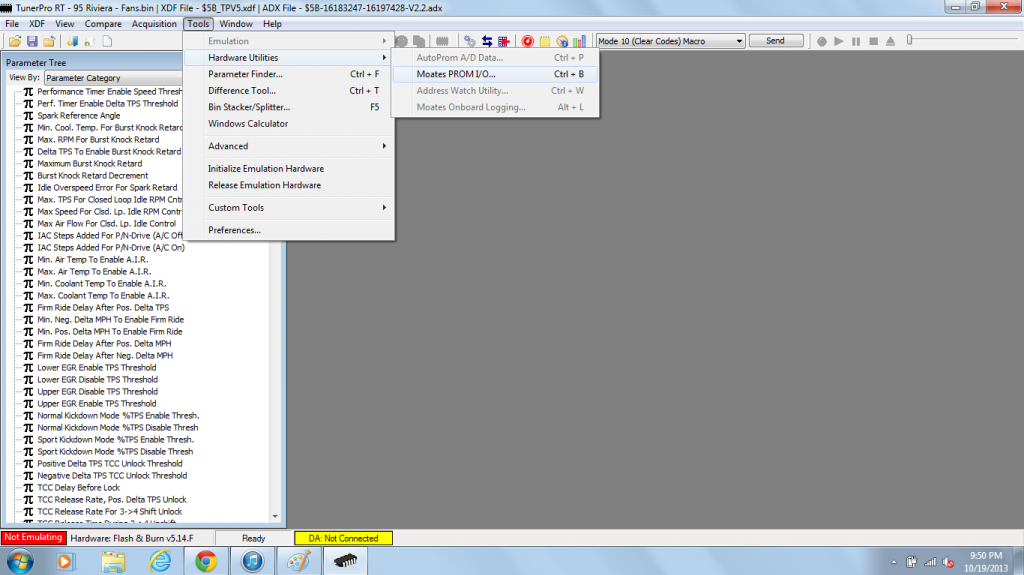
Plug in the Burn2 to your computer and open up TunerPro. You want to go in the "tools" drop down and select "Initialize Emulation Hardware". The "Hardware Not Found" status should change to identifying your device.

Next, go back to 'Tools' -> 'Hardware Utilities' and select "Moates PROM I/O..."
From here, you will be able to set up a read or burn. First, be sure you selsect the correct chip and the values for 'Chip Addressing' and 'Buffer Addressing' are correct.
Chip Adressing
Start: 000000 Stop: 00FFFF
Buffer Addressing
Start: 000000 Stop: 00FFFF
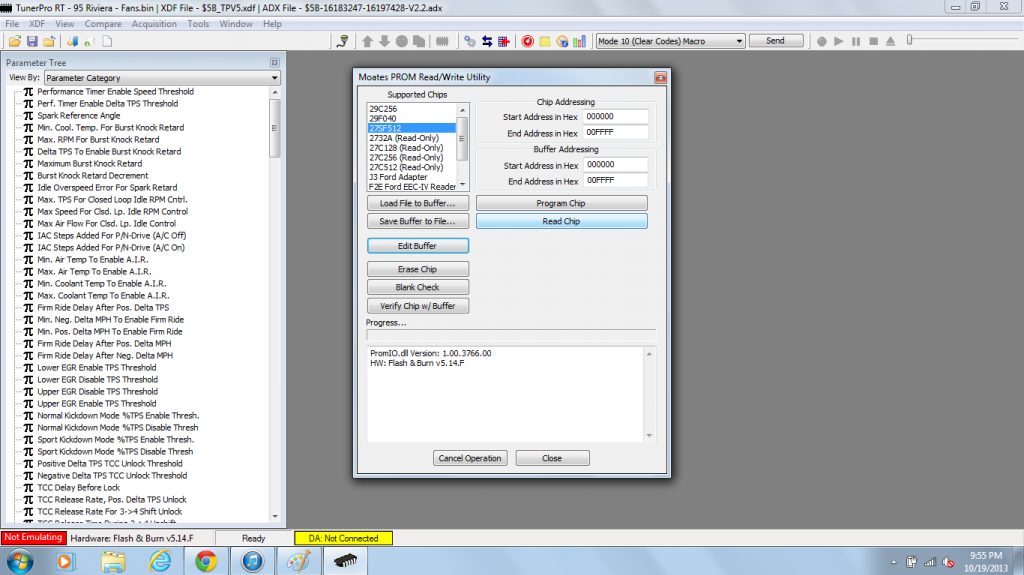
After this, you are ready to read the chip.
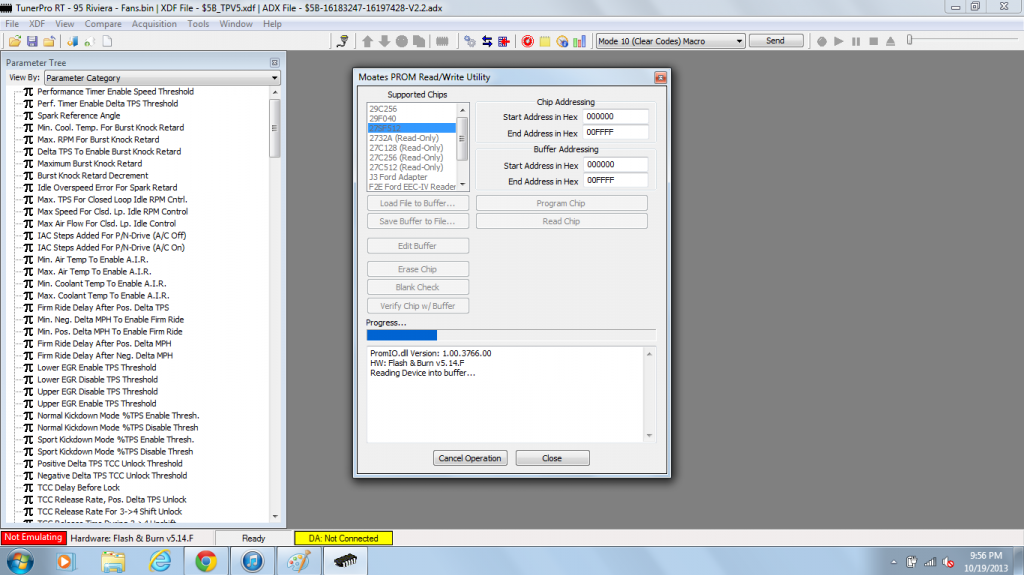
After, the read is complete, select "Save Buffer to File" and save as a .bin file somewhere you can easily locate it.
You can now got to File -> Open Bin... and your tables and values should update with the numbers programmed to your Memcal.

From here you can edit values and save them to a new .bin file, ready to be burned to a new chip.
One thing to watch is units. Many of the temperatures are programmed in Celsius, so it is handy to have a conversion table if you dont feel like doing the math.
Hopefully this is helpful and easy enough to follow. This is as far as I have gotten. I've changed my fan turn on temps and speed governor but not yet burned a chip. This is the PCM out of our parts car Im playing around with for now. Getting a spare PCM from a scrapyard might be beneficial if you want to play around with everything for a bit and get the hang of it. Ill be sure to update as I learn more and do some more stuff with this.
Feel free to PM or Email me with any questions.


