Right. Huge update here. 78 images.
This past long weekend I finally got a chance to finish up Abaddon's blower. (Sorry its taken so long.)
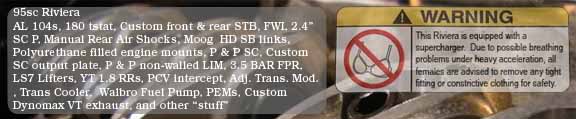
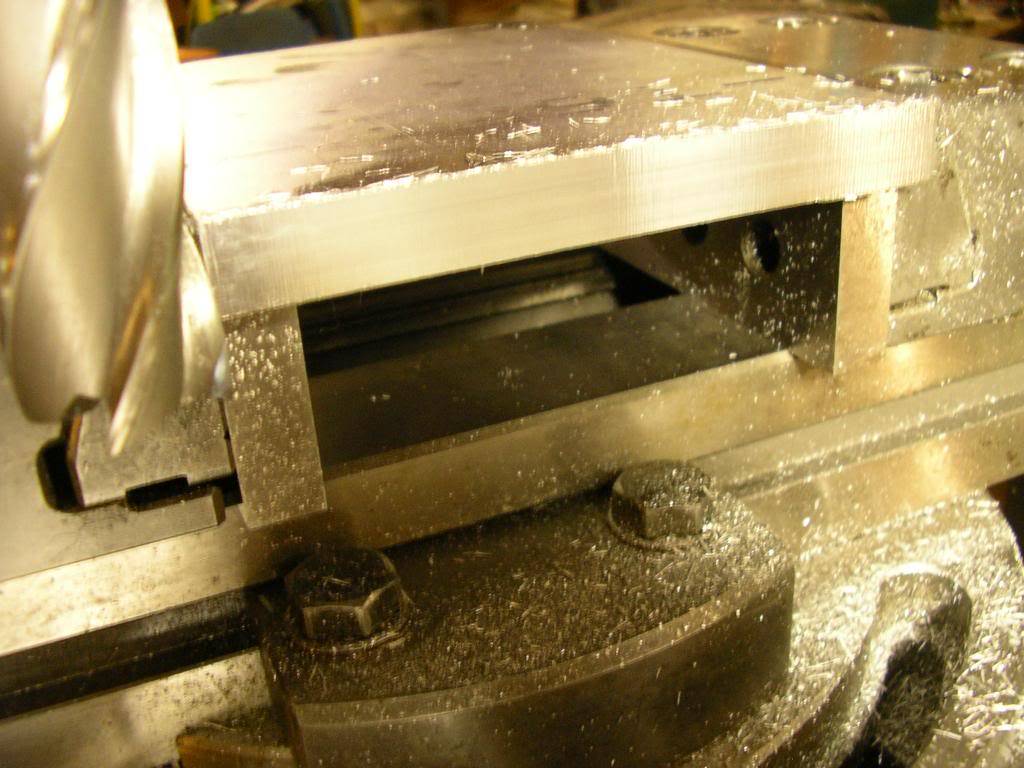
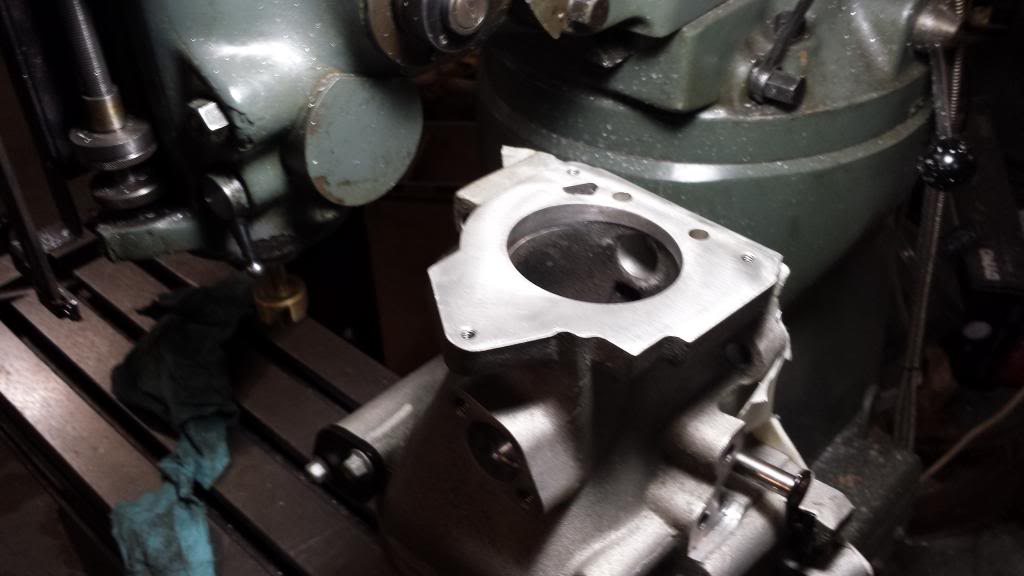
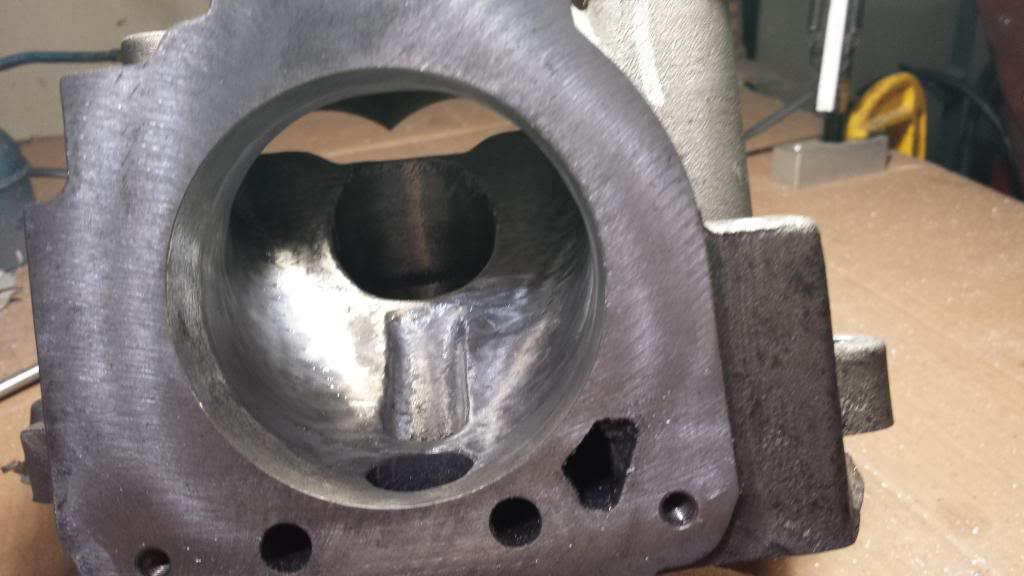
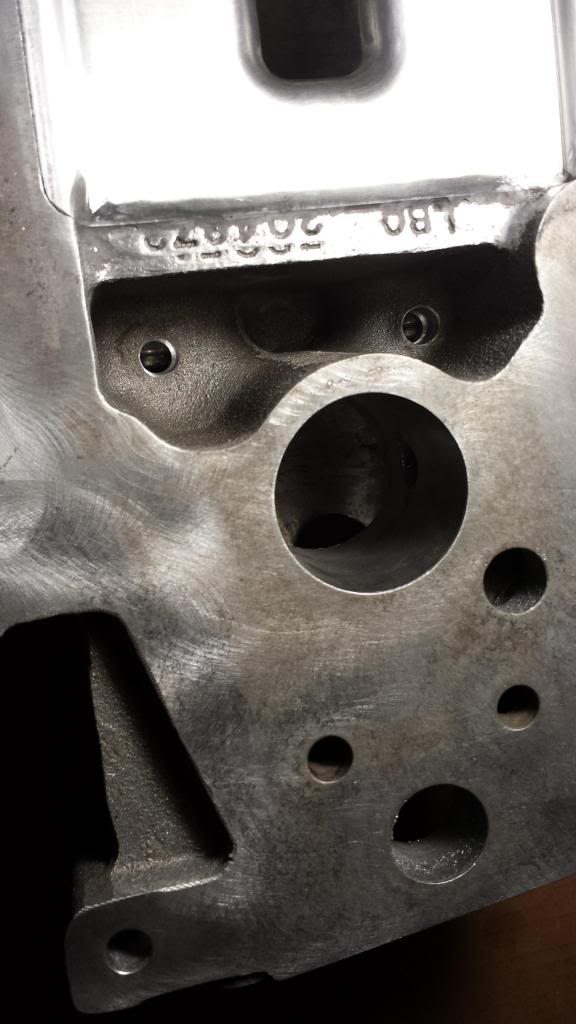
We left off last with the pocket being finished and the bolt bosses removed:
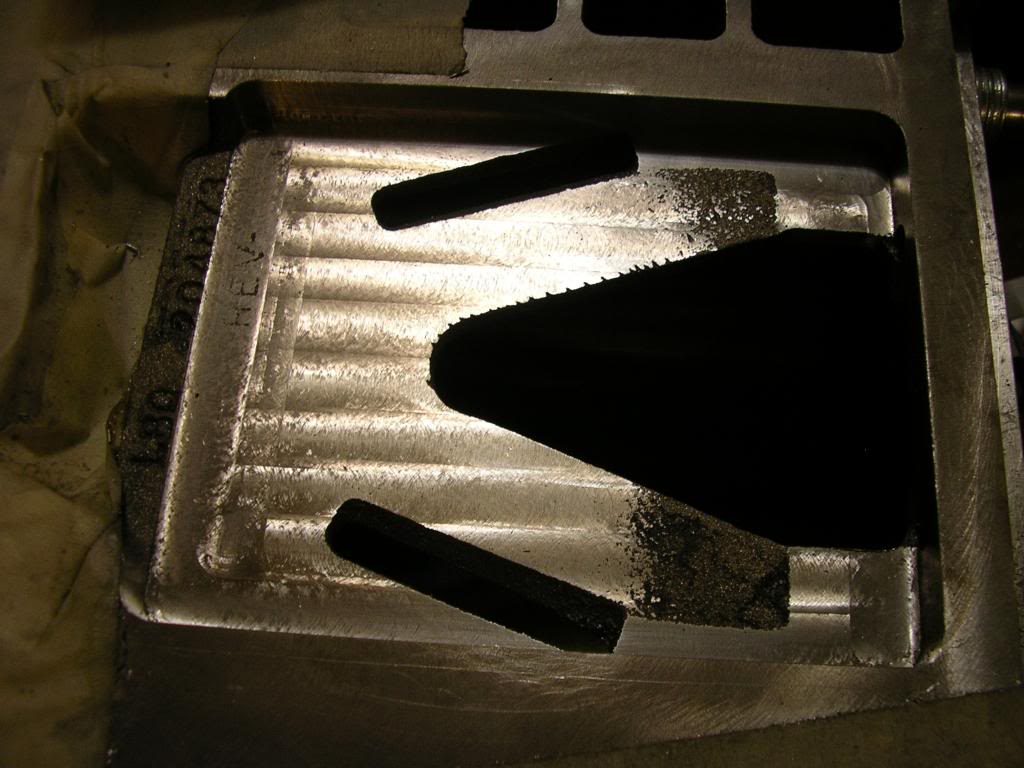
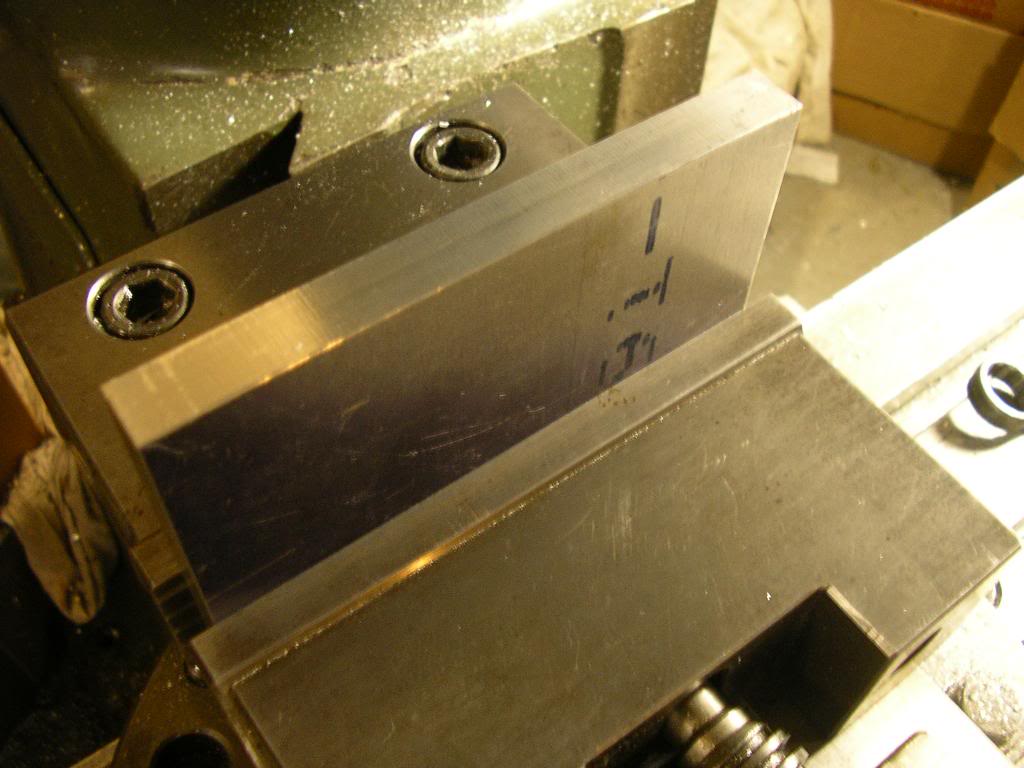
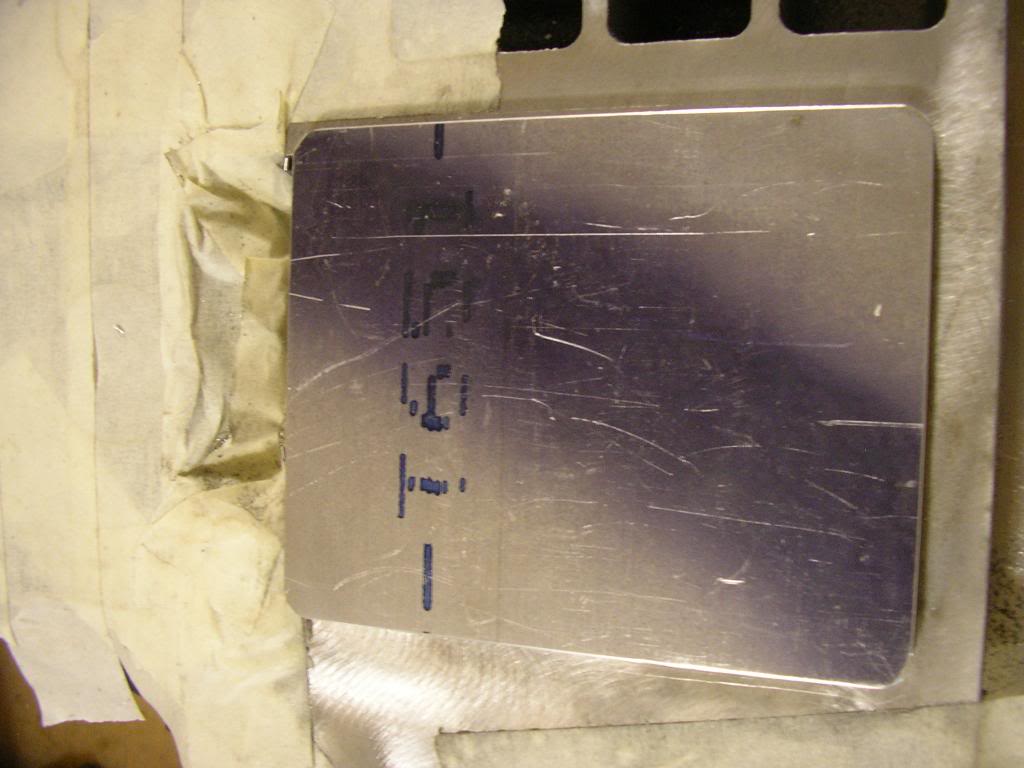
Now its time to make up the insert plate. Found a *very* nice bit aluminumn. This stuff is sold by the square inch, so you lucked out getting it. It should match the thermal properties of the blower almost exactly. First we mount it up and square it off:

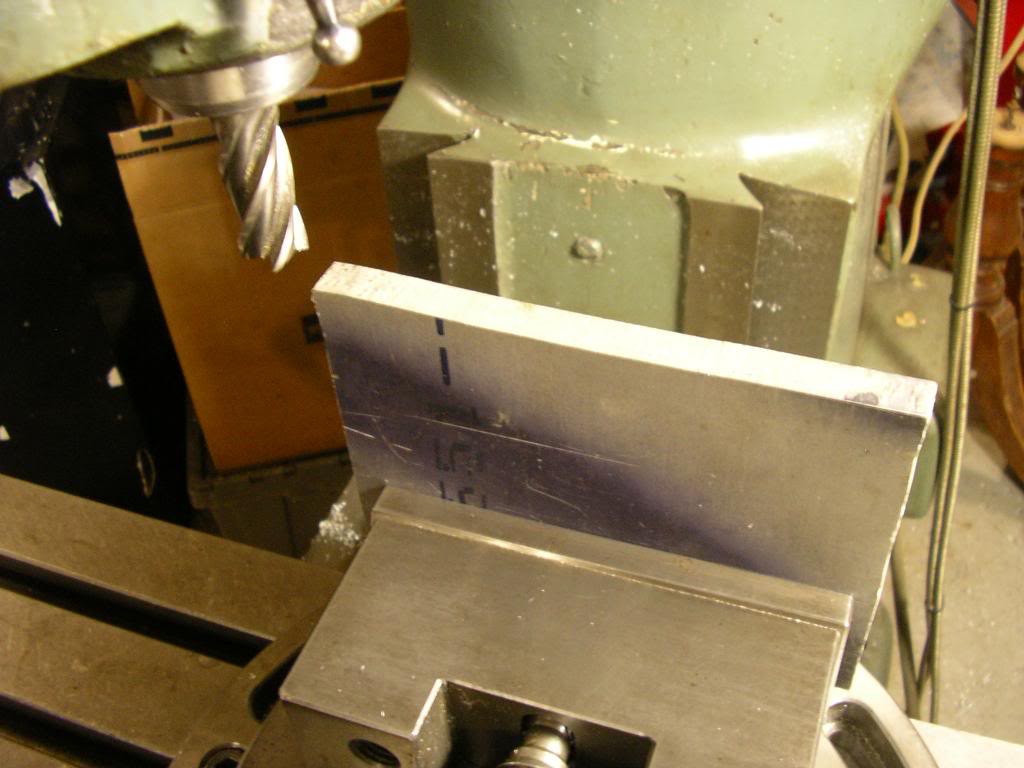
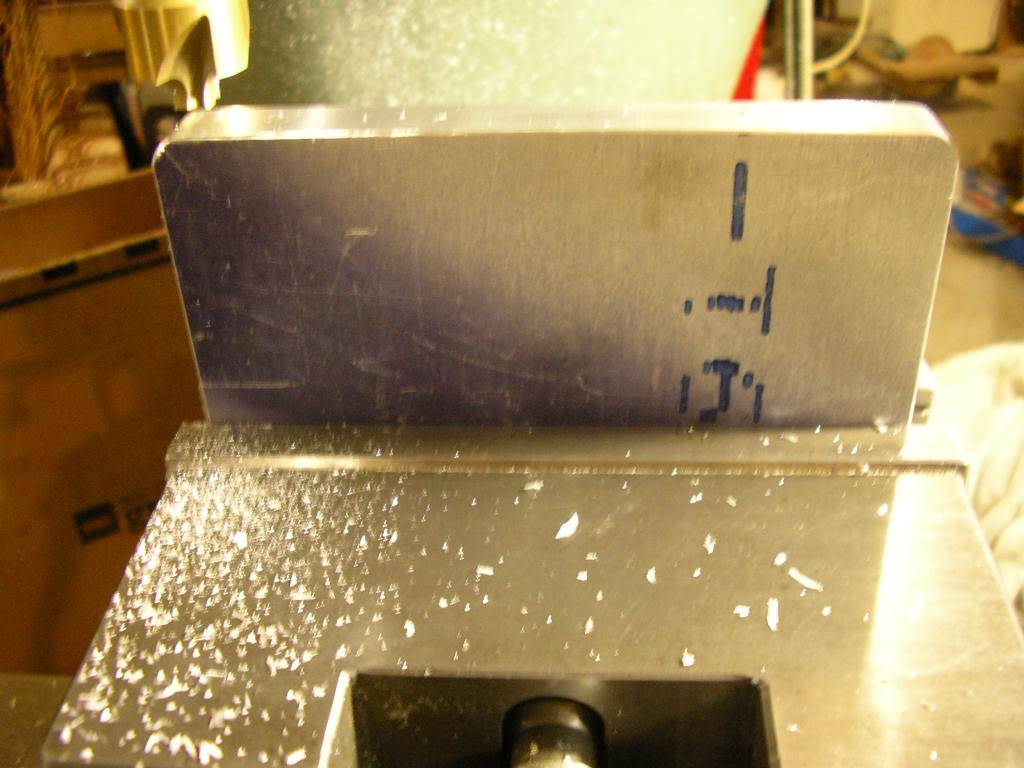
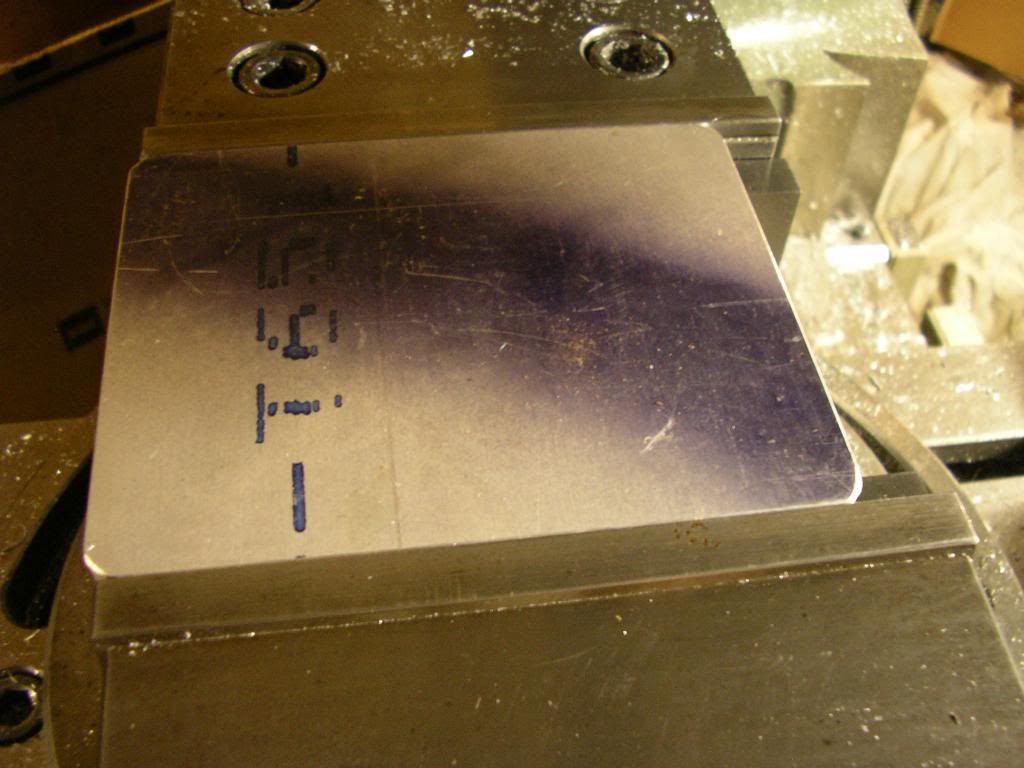
Finish up the width:
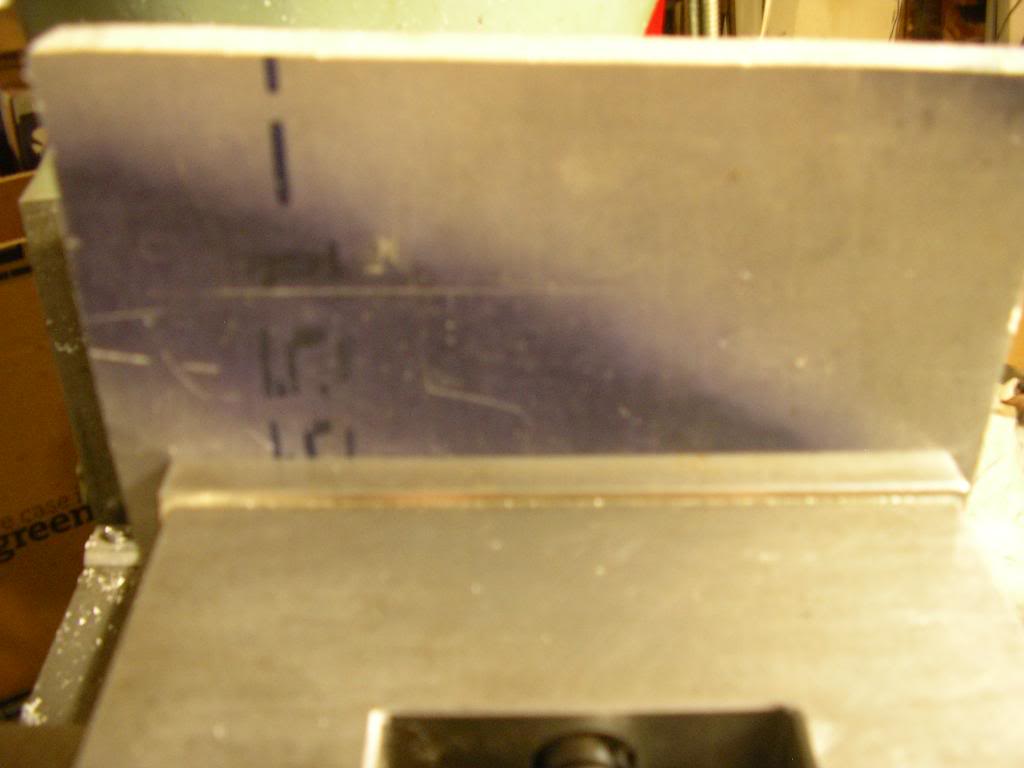
Make sure it fits:

And cut the length:
Cut the rounds on the corners:
And all finished:
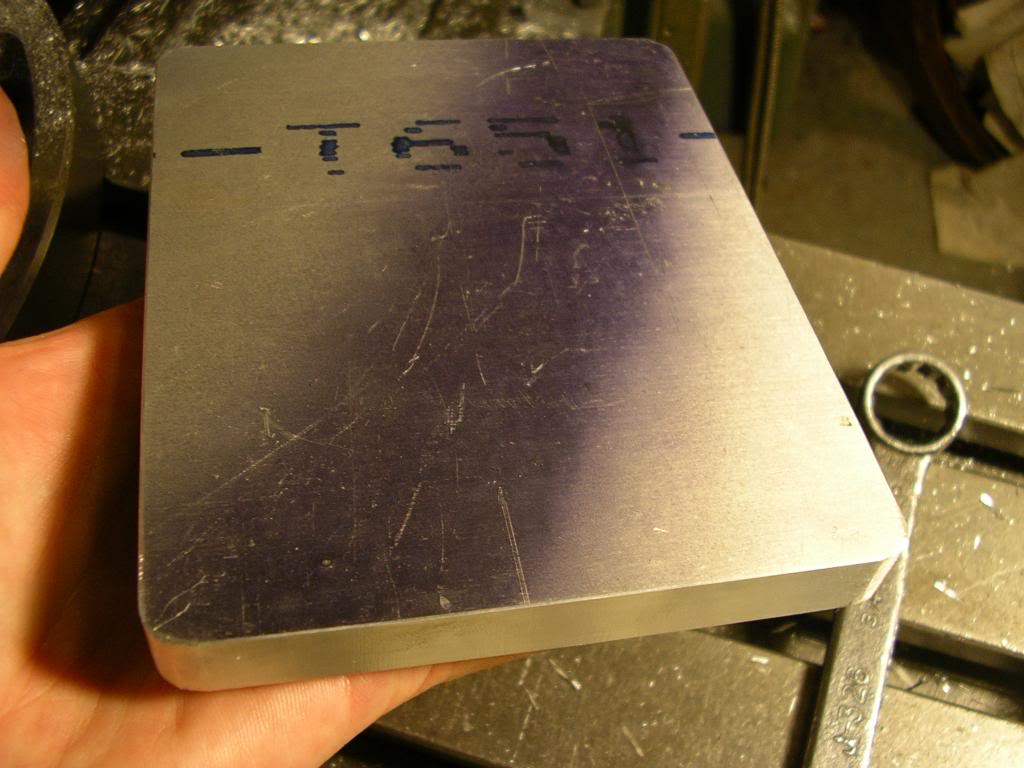
It even fits!:
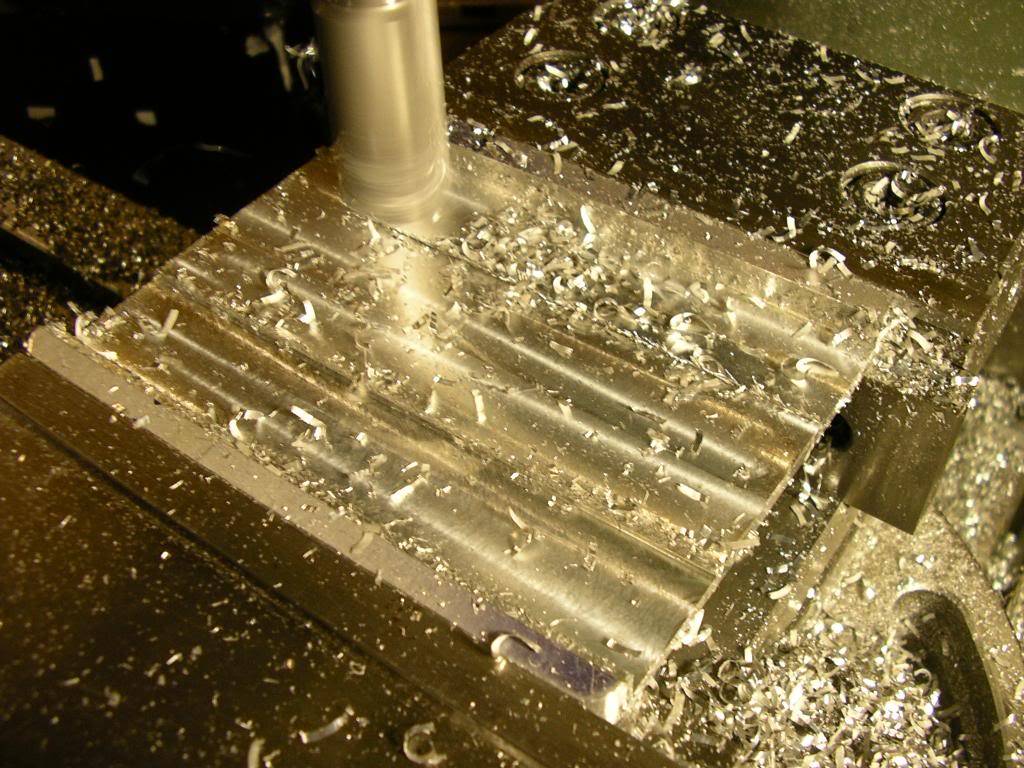
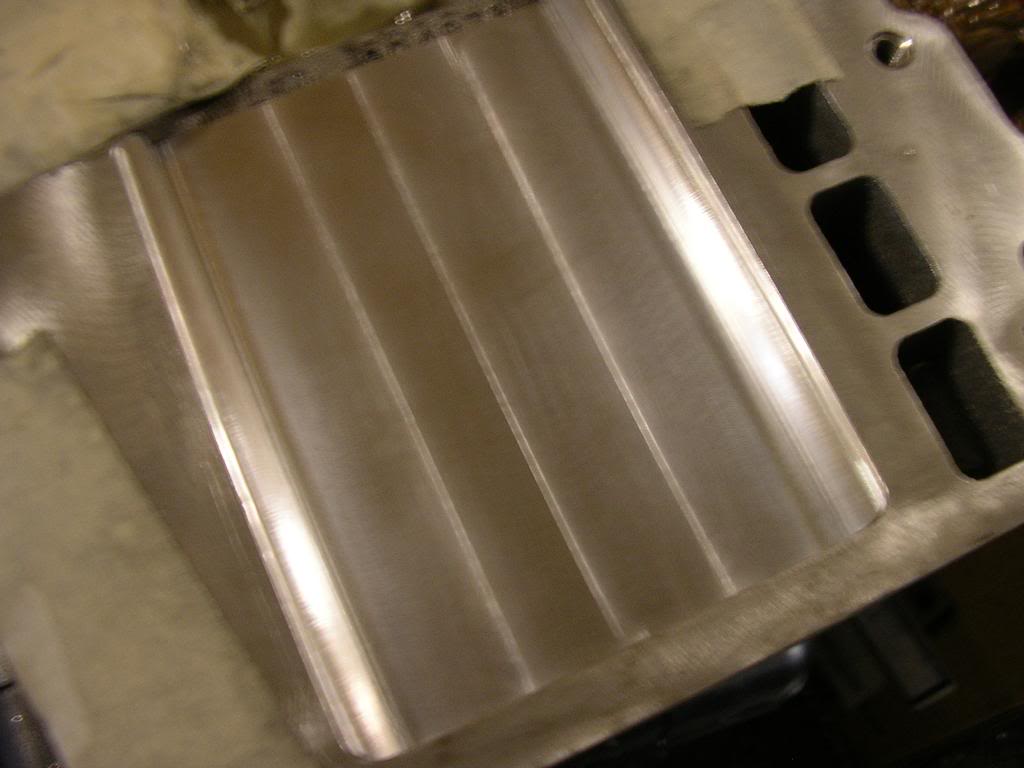
Mounted and ready to surface:
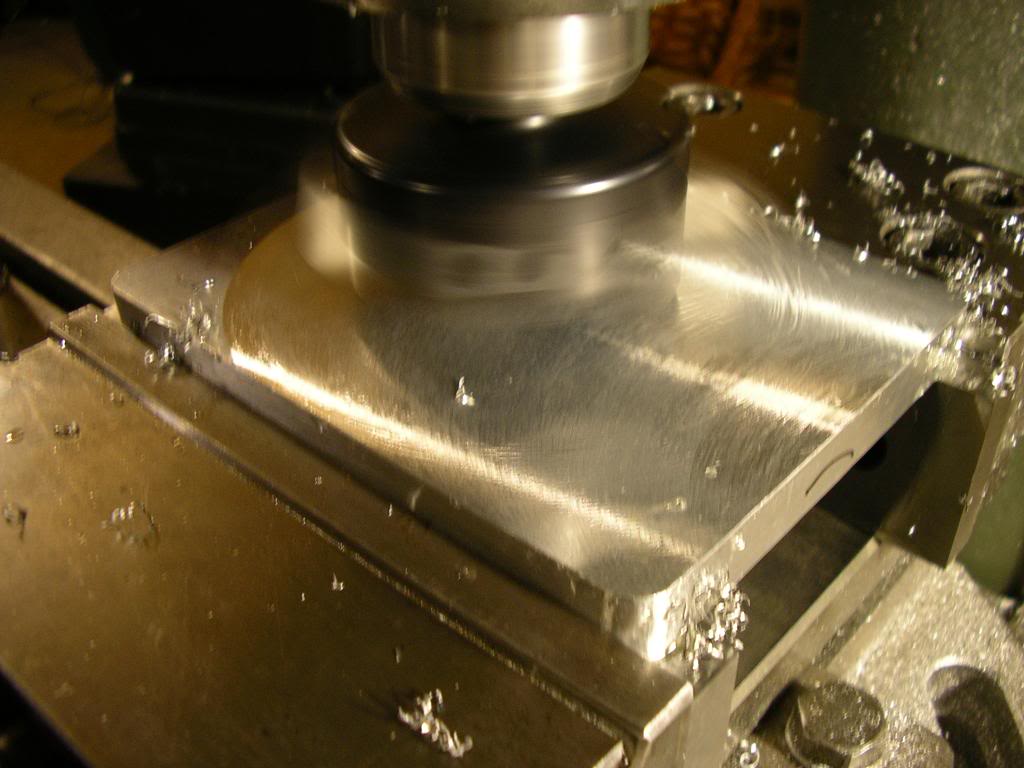
Giving it a shave with a fly-cutter:
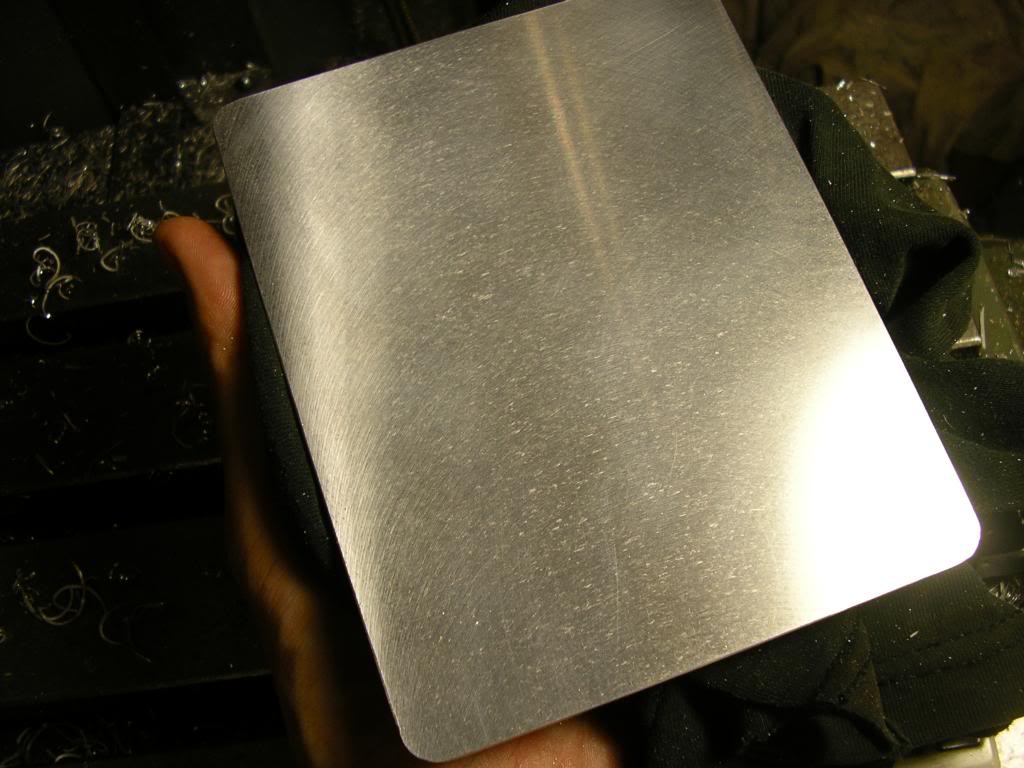
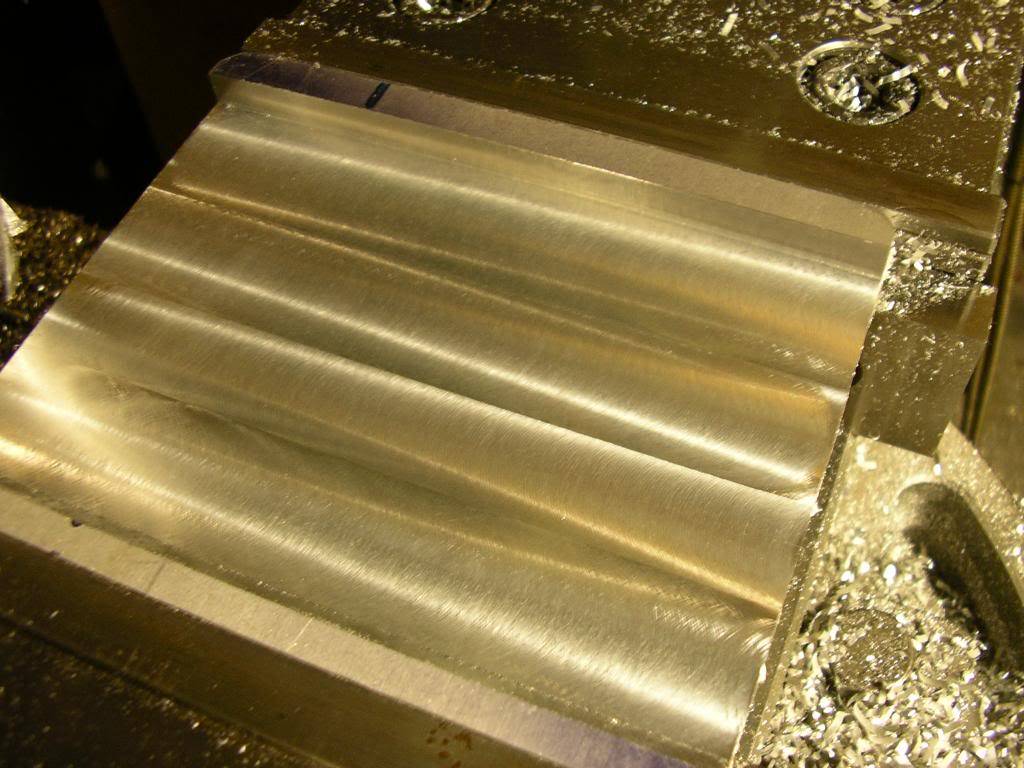
And all done. Easy to get a nice finish with such a nice bit of material:
Next is pocketing. The edges here are what keeps the plate from moving in the very rare chance that the cold weld lets go.
Cut:
Rounding:
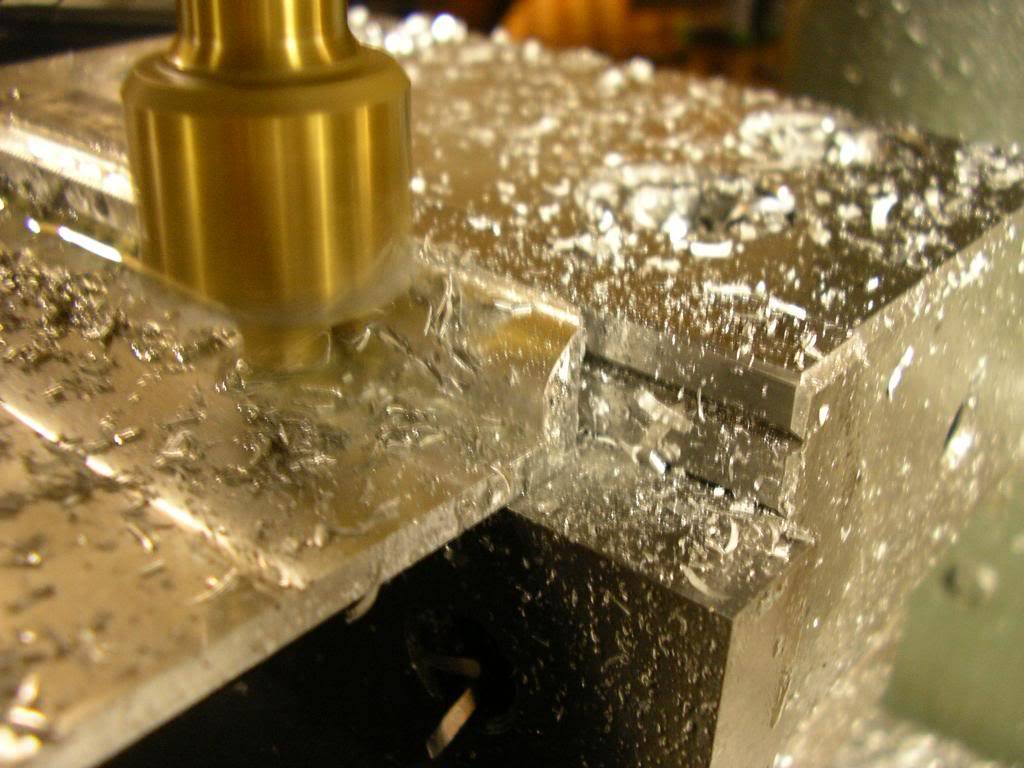
And finished:
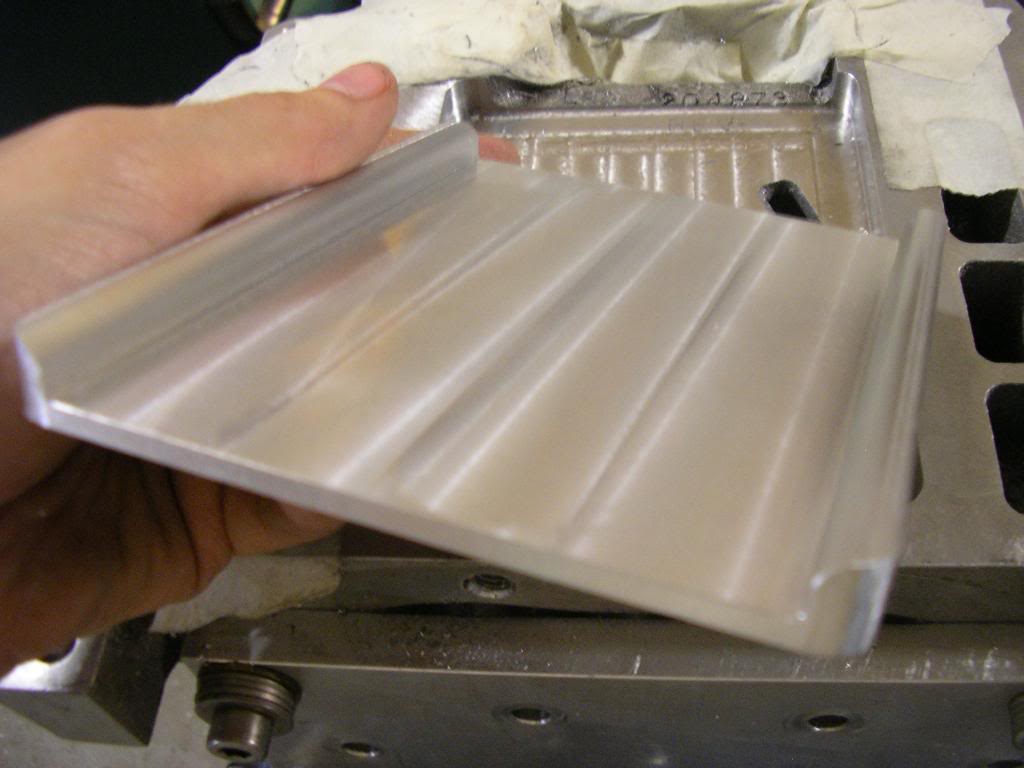
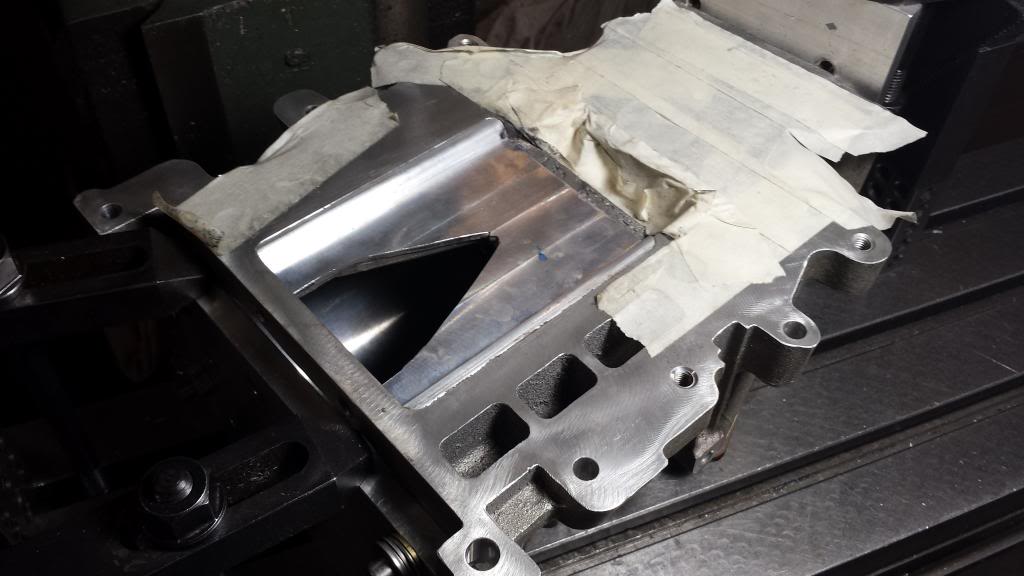
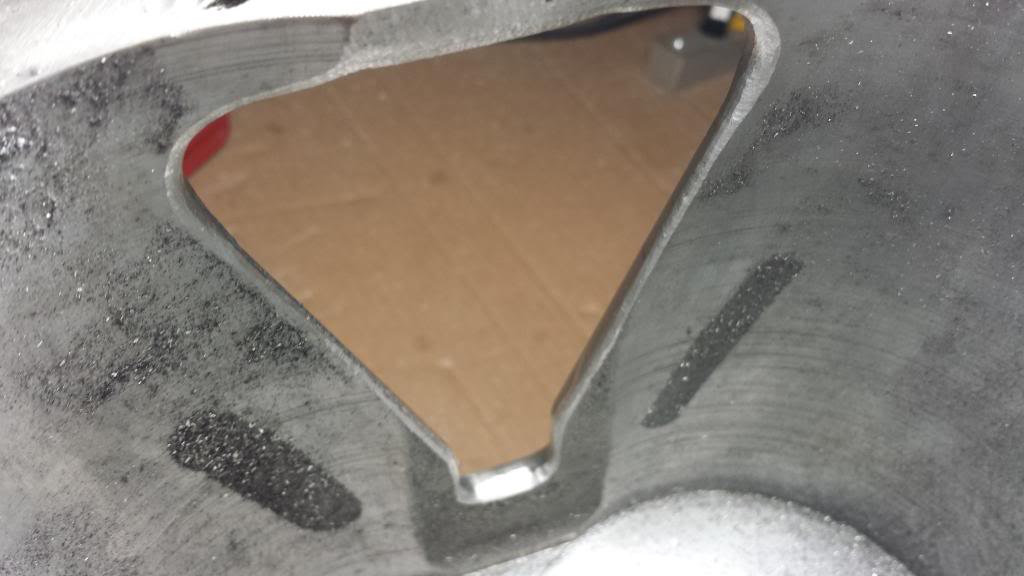
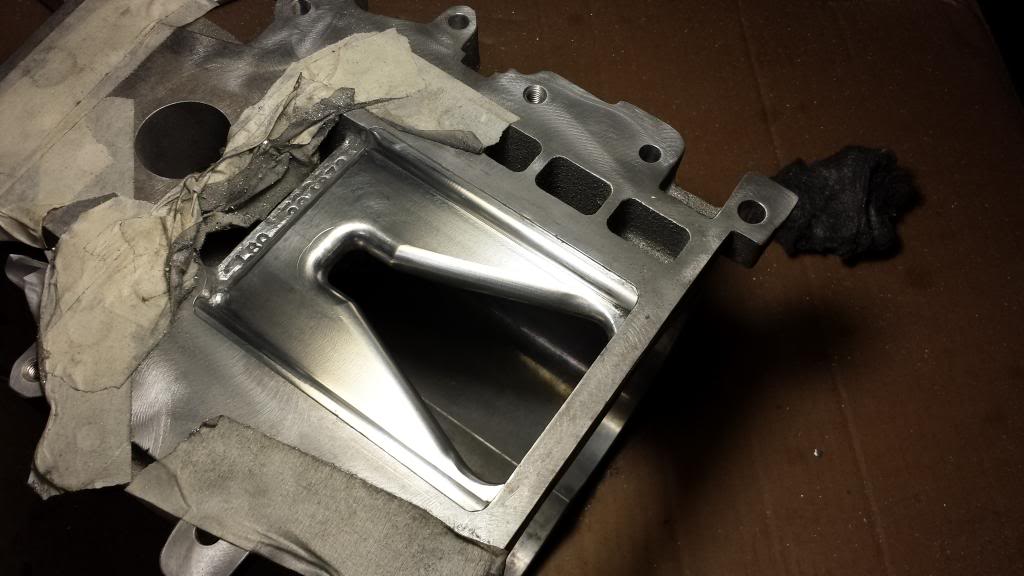
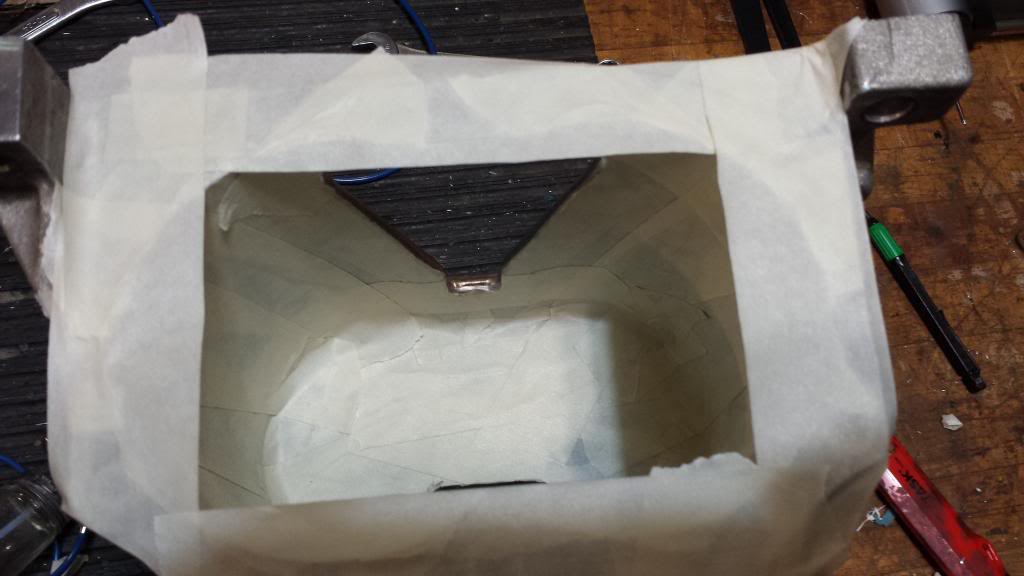
And fit into place. The back end is left open and the H-bar is removed from the blower so the option is there to run an intercooler. I know Abaddon currently doesn't have one, but now the option is there for the future. With no intercooler, just plop it on, maybe trim the gasket a bit, and it will be fine too.
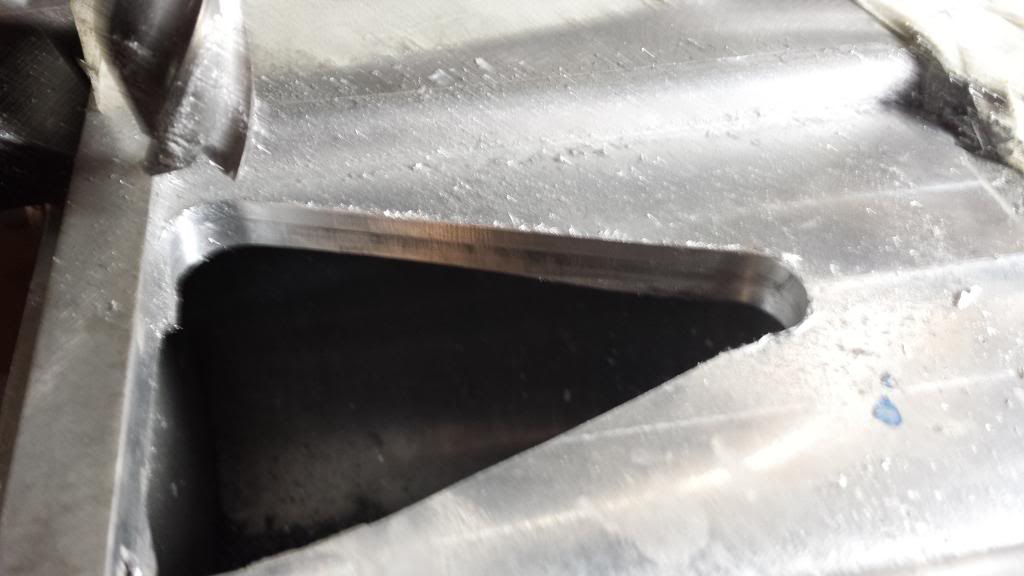
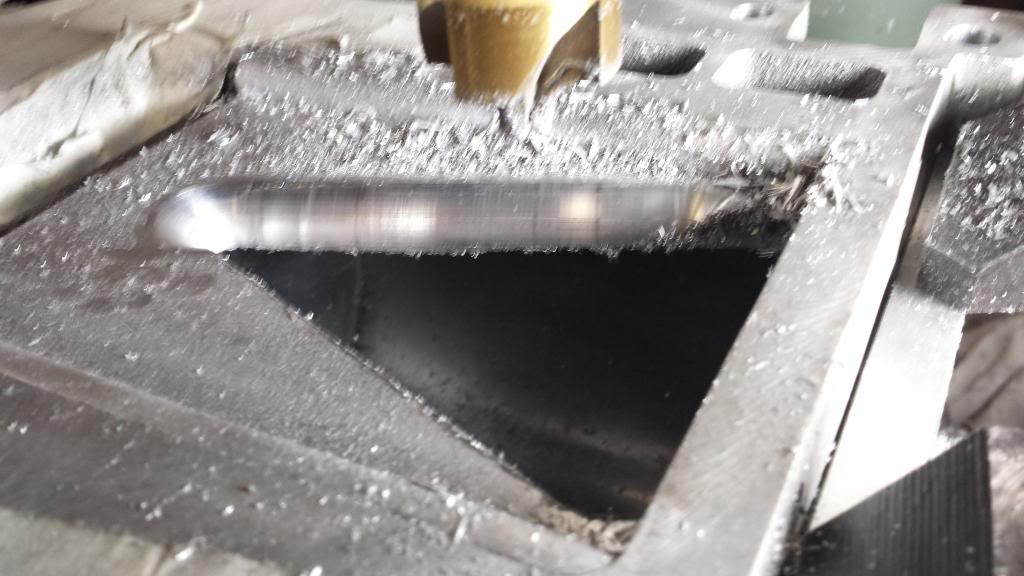
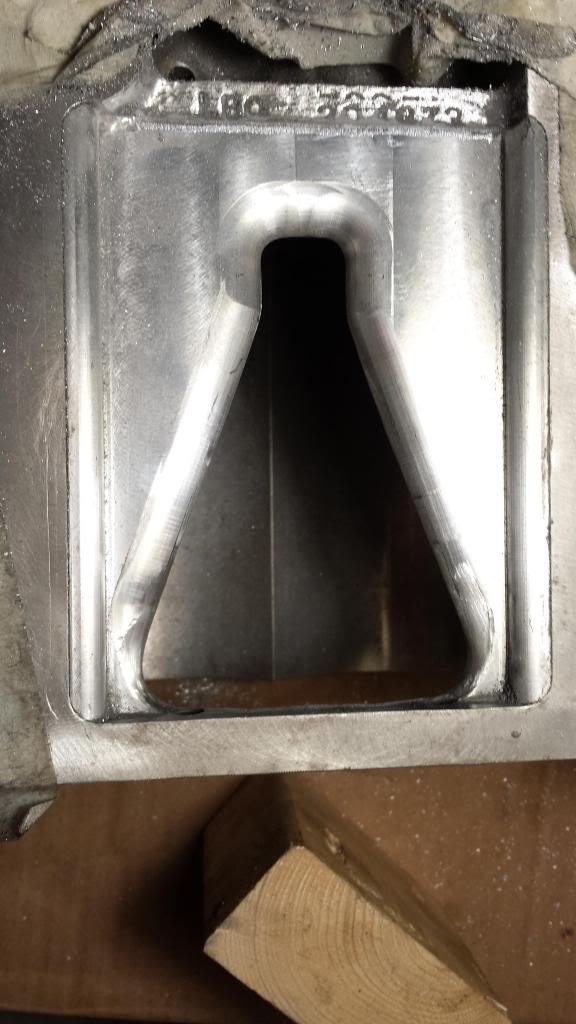
Next a rough V is cut into the new insert plate, and its cold welded into the pocket. Then clamped in place:

The rough outlet its dried:
And mounted up in the mill. I was thrown for a second because the angles weren't matching up. The m62 is exactly 15 degrees from centerline. Aparently the m90 is 20. The twist is the same, but the rotors are a larger diameter, which makes the different angle where the rotors touch the casing. I must have worked this out previously for the other blowers that I'd done, but I'd compleatly forgotten.
Starting the edge matching:
And opening to the port size:
Running the edge profile:
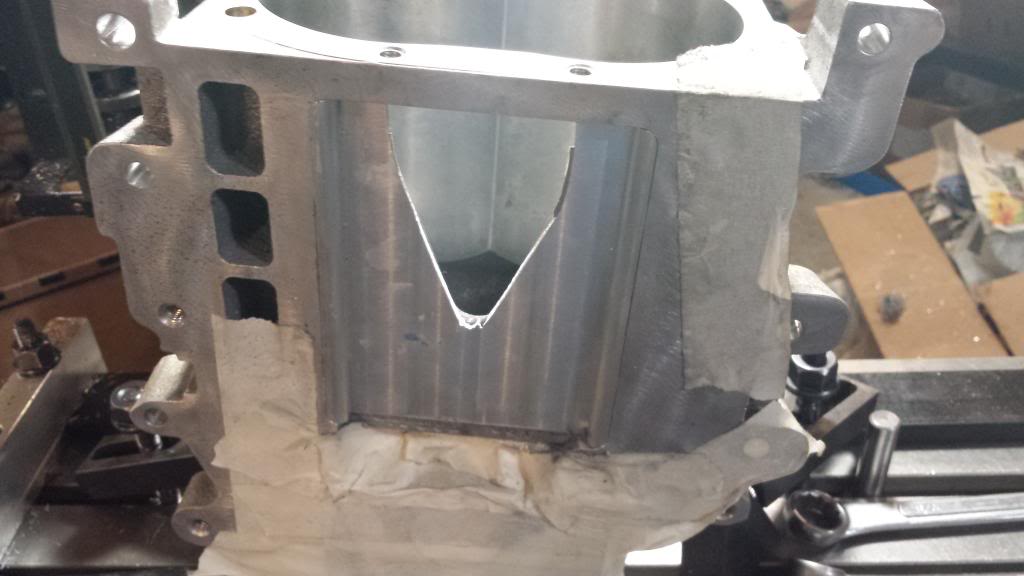
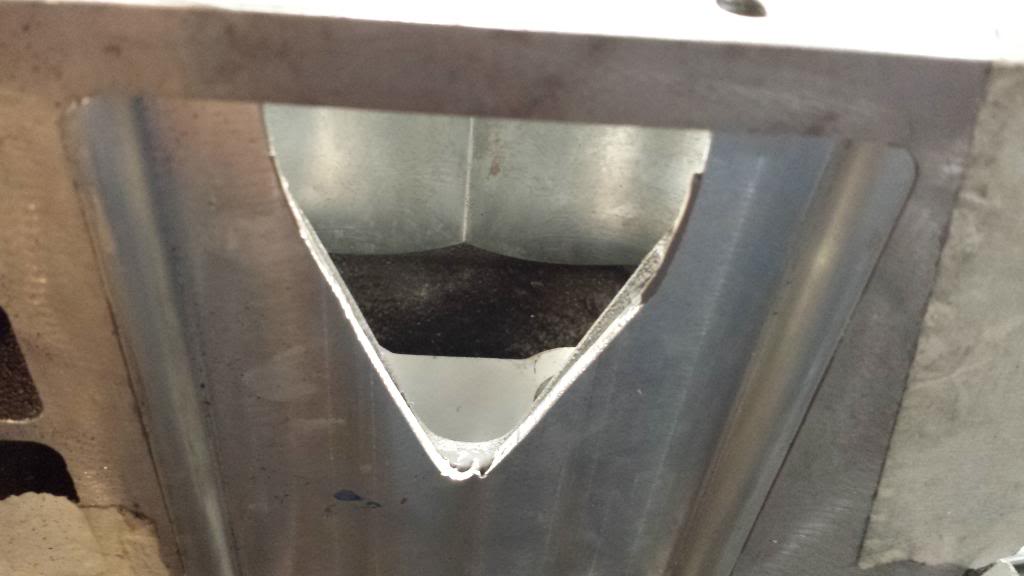
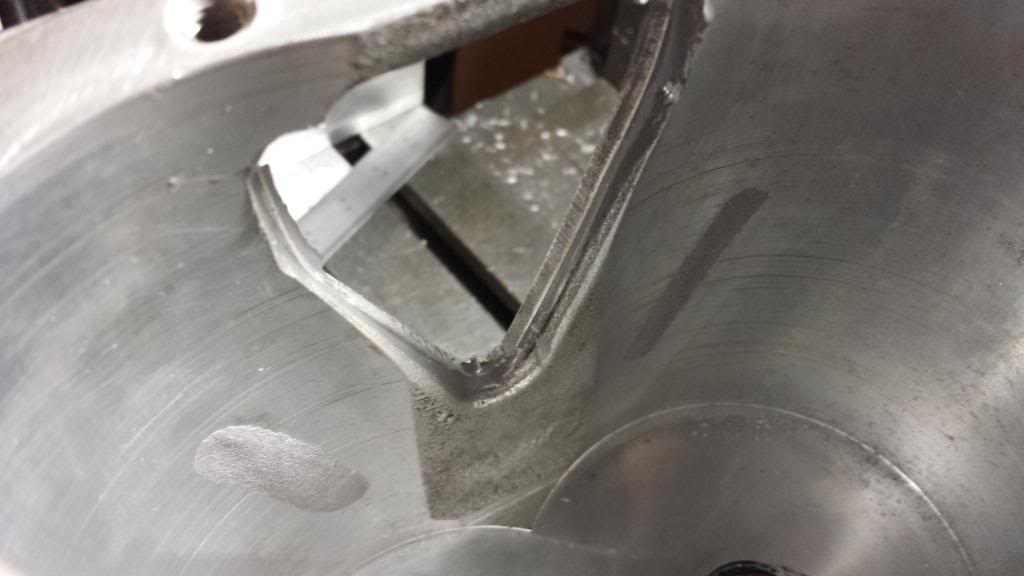
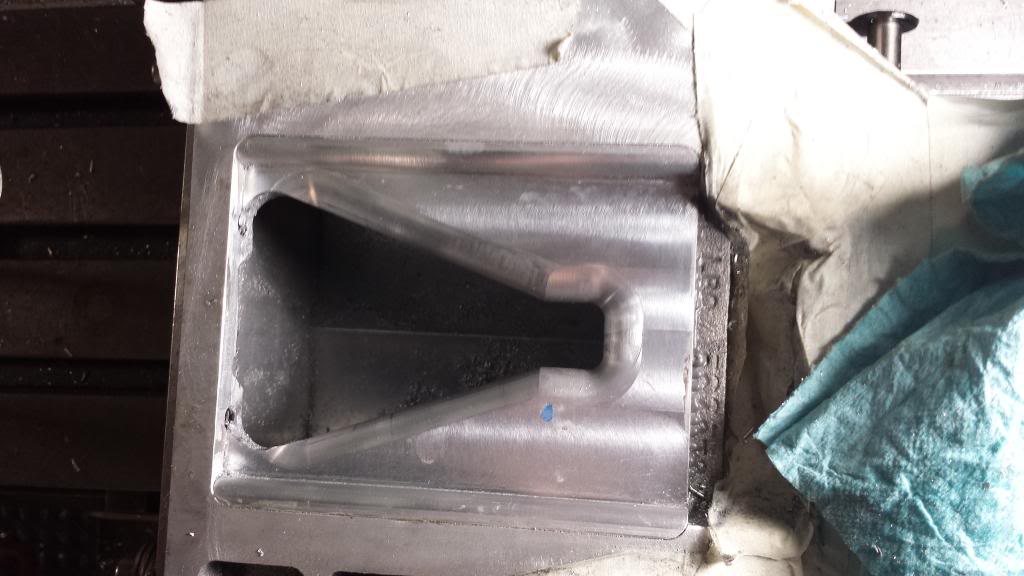
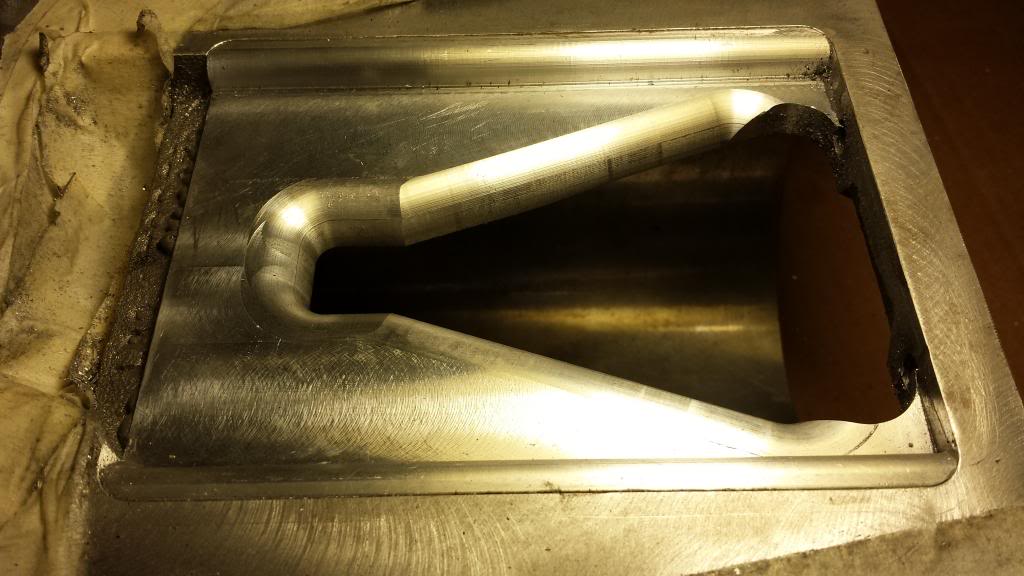
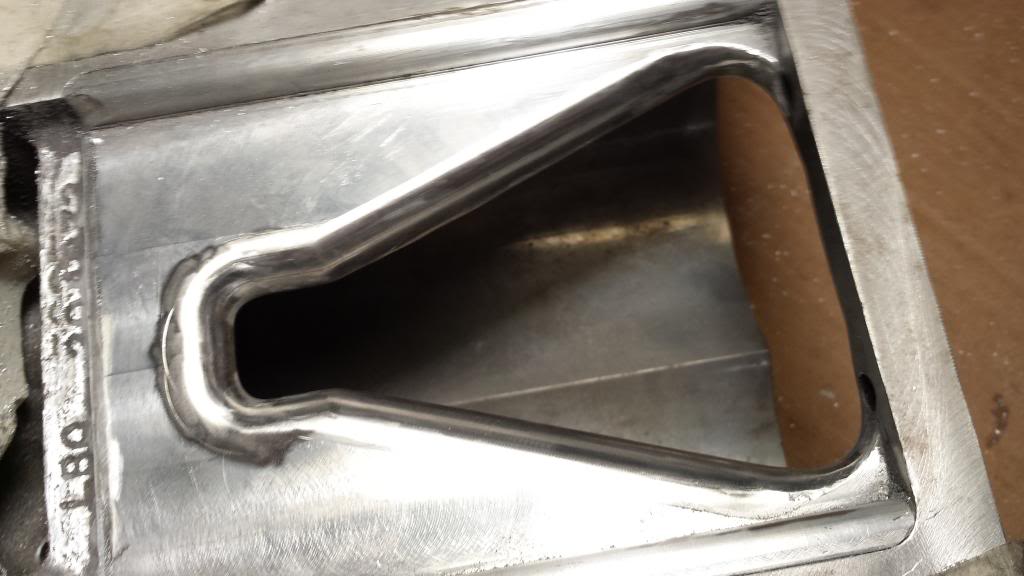
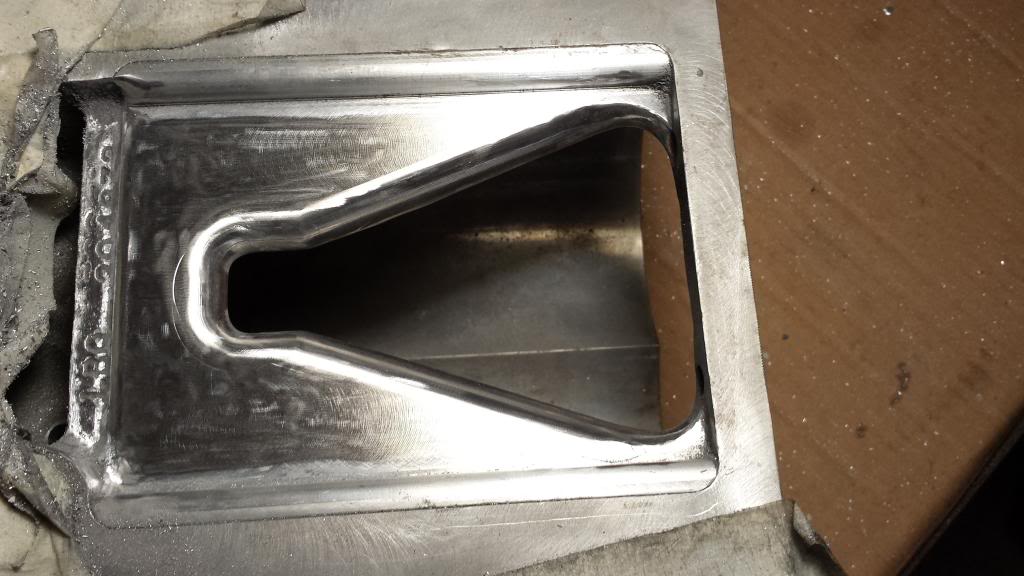
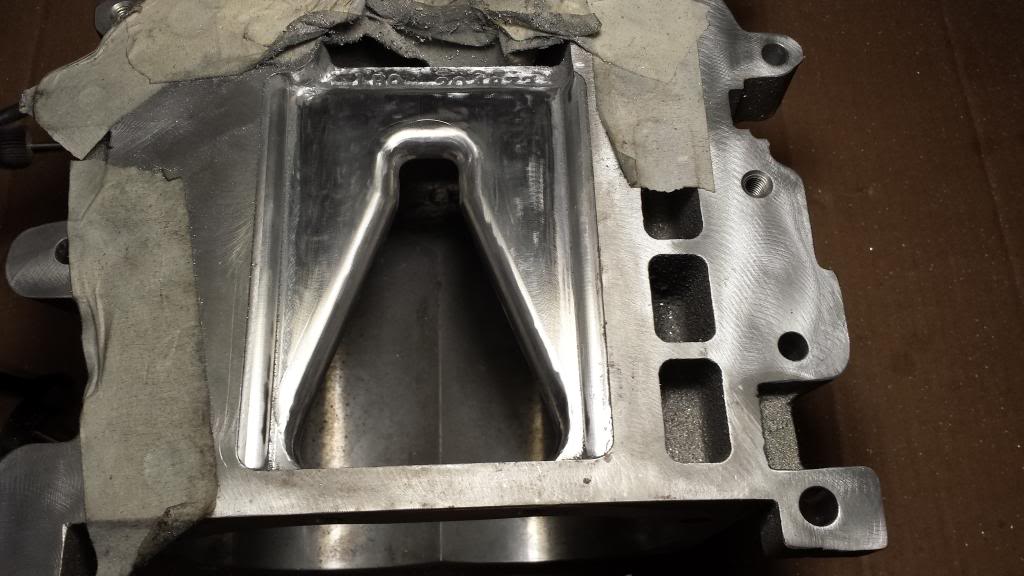
And finished outlet geometry. The tip of the triangle shifts the airstream slightly(IMO), as well as opens up the same area that we closed on the scilencer ports.
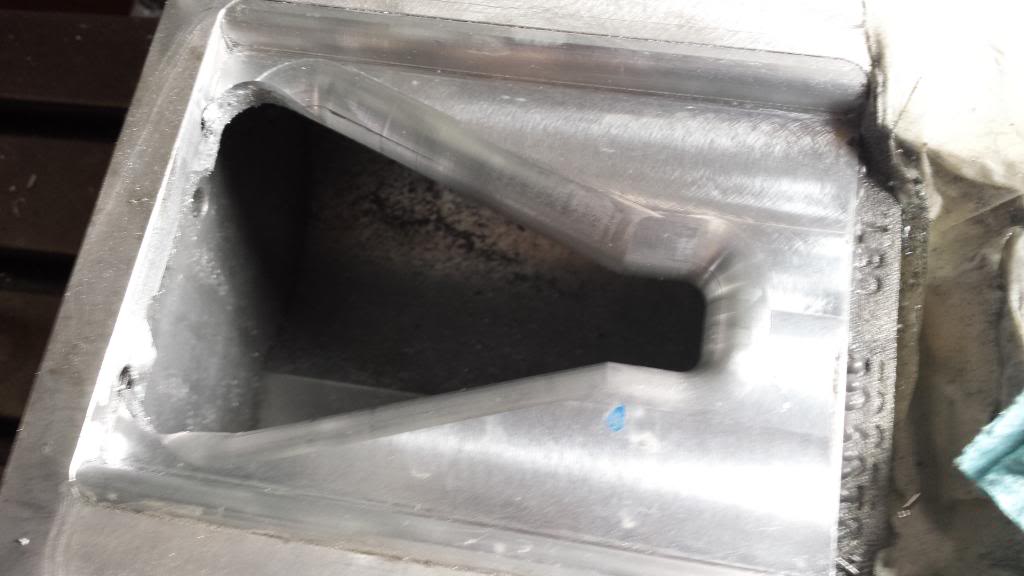
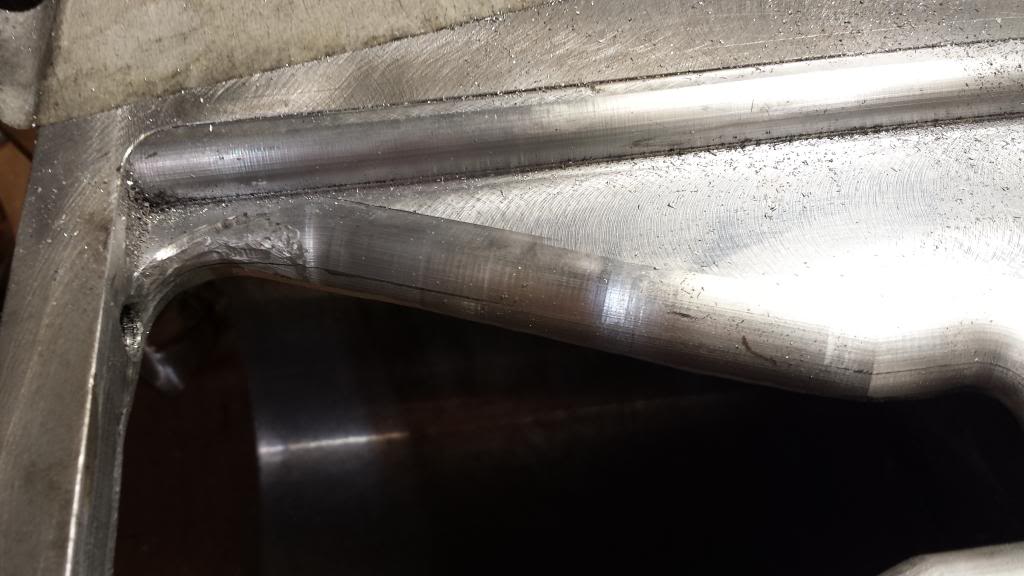
Closeup. You can see how similar the insert metal is to the casting:
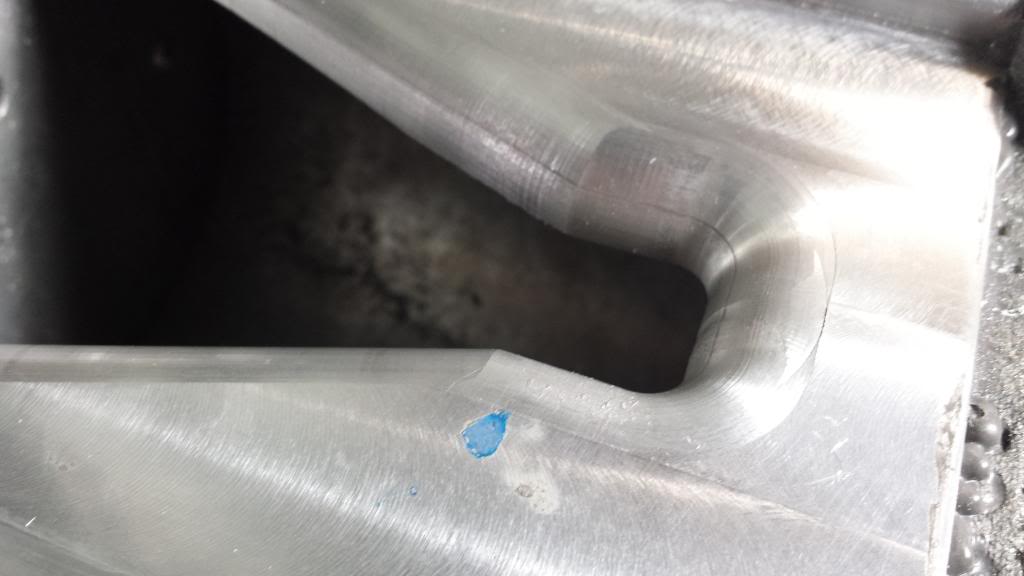
Another pic:
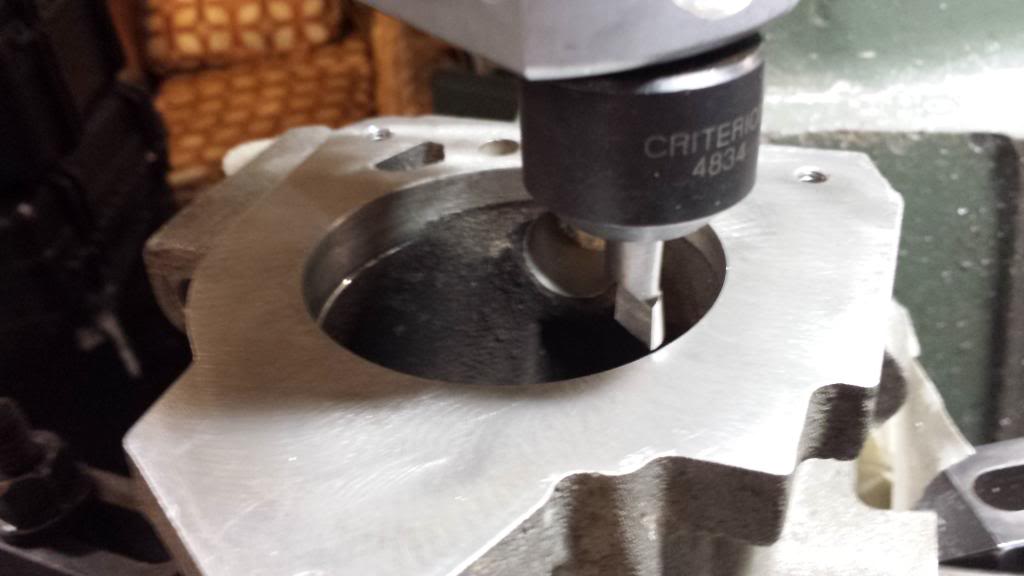
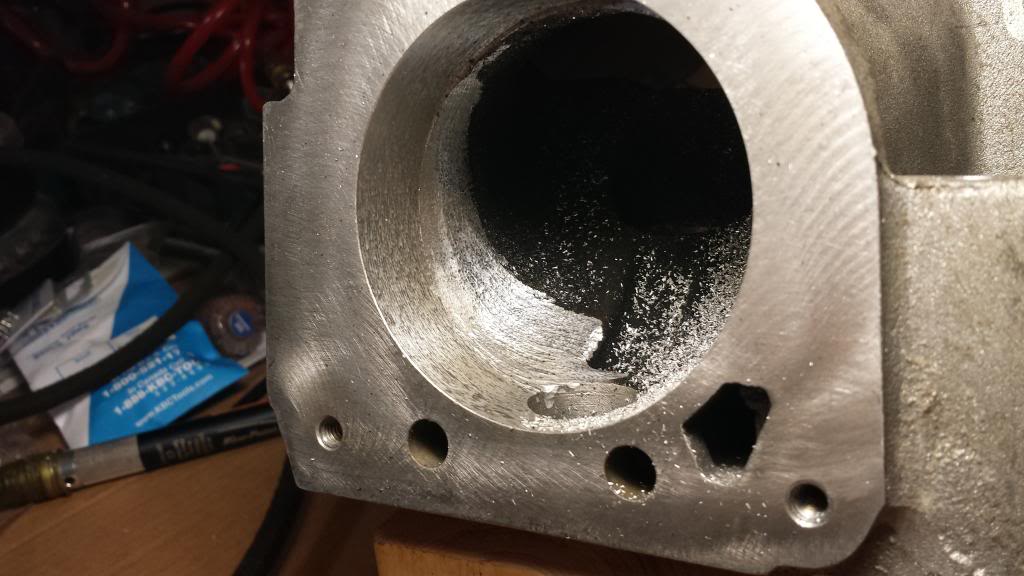
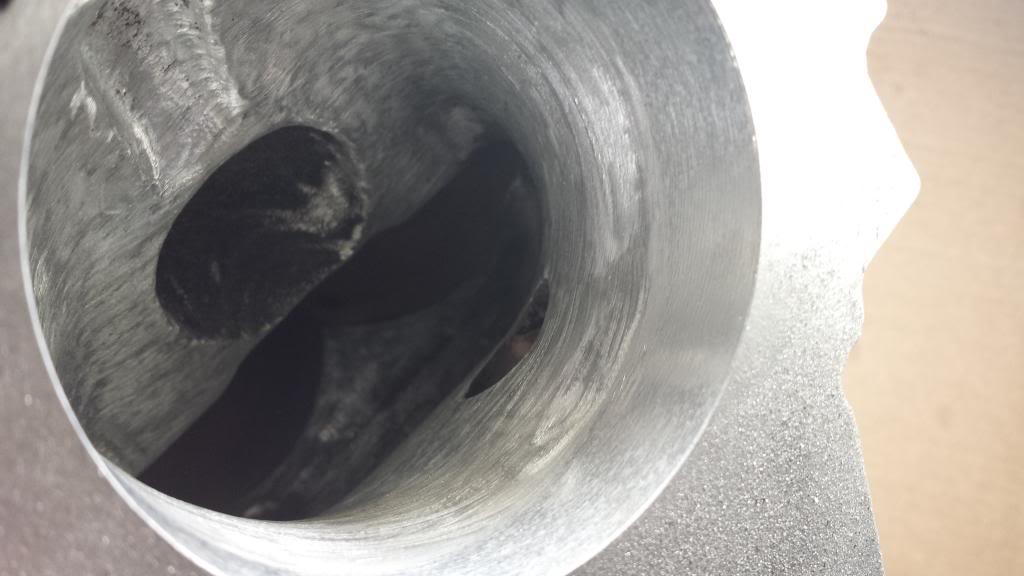
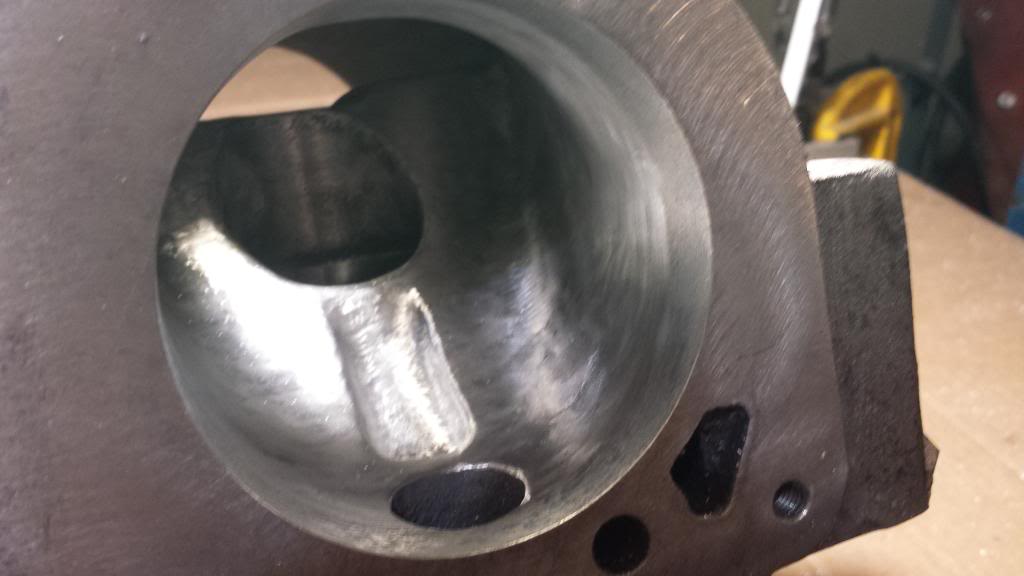
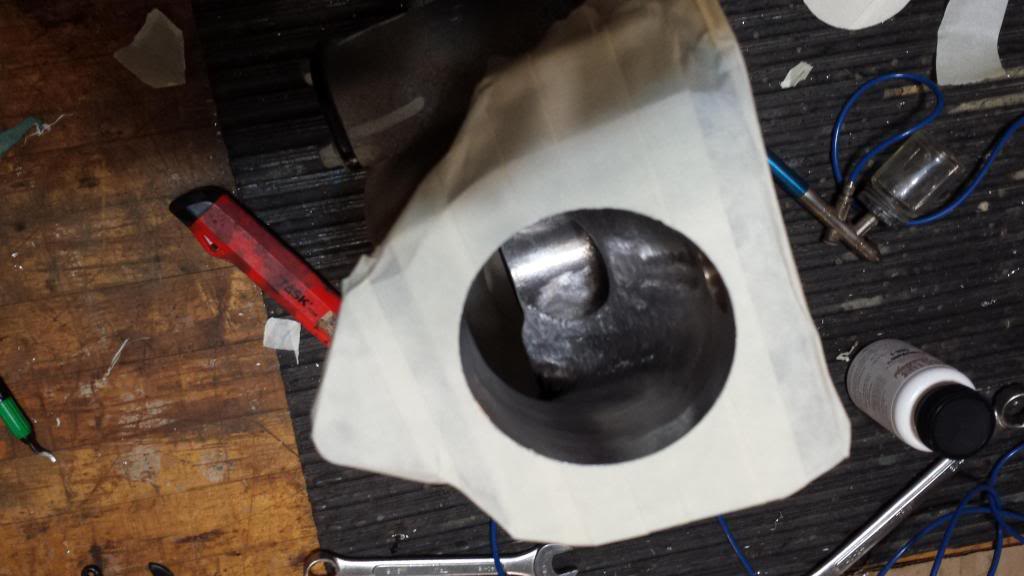
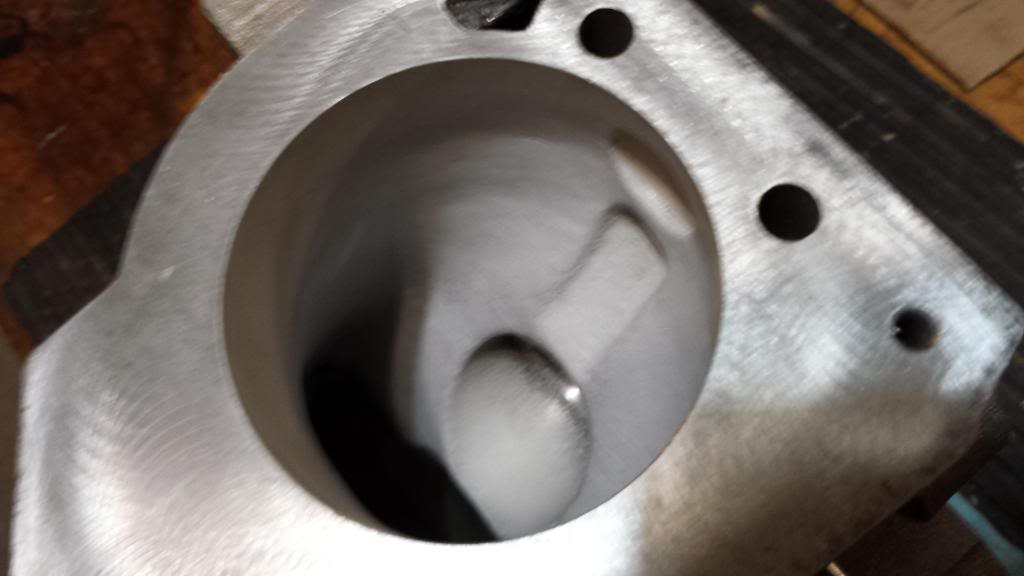
Next is the inlet boring. This needed to be opened to 75mm. First, you can see the stock casting flaws:

To do this, the casing it mounted square to the back of the machine. The head is set to an angle of 7 degress which is the angle the inlet is on for the m90. Then the center of the stock machined inlet is found, and the surface is indicated to make sure we are right on target:


Then the boring head does its thing as we little by little pull it out to the needed size:
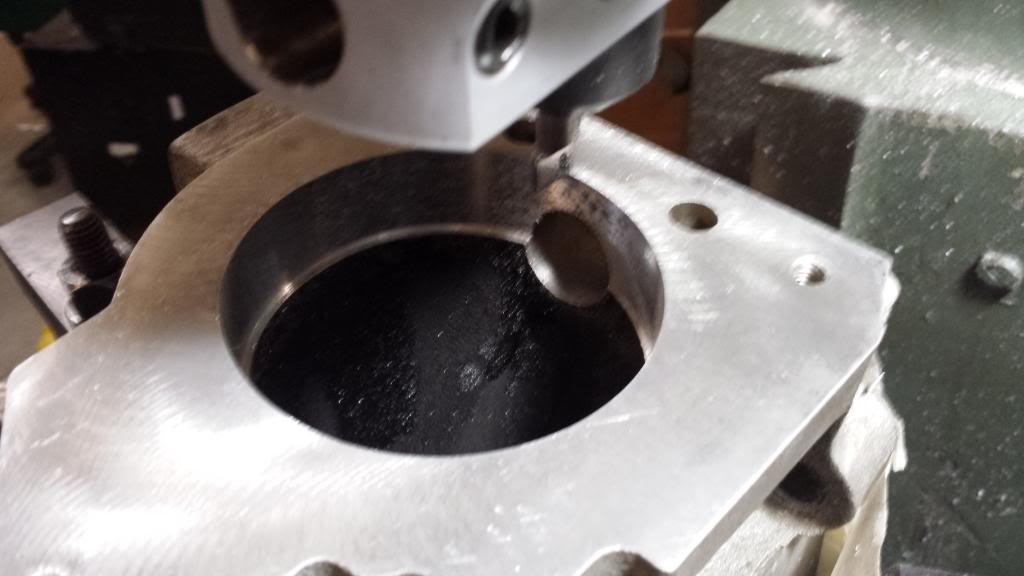
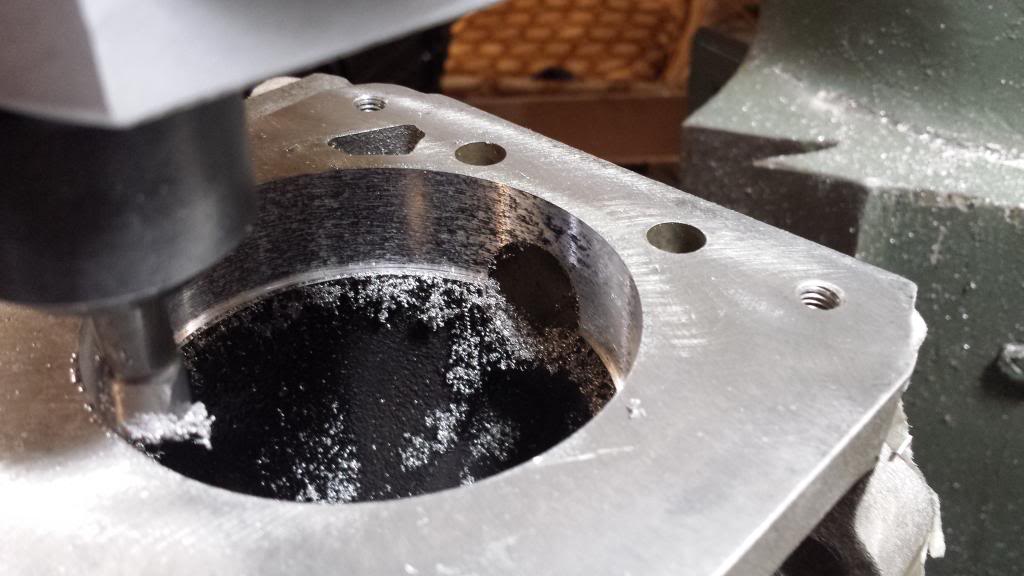
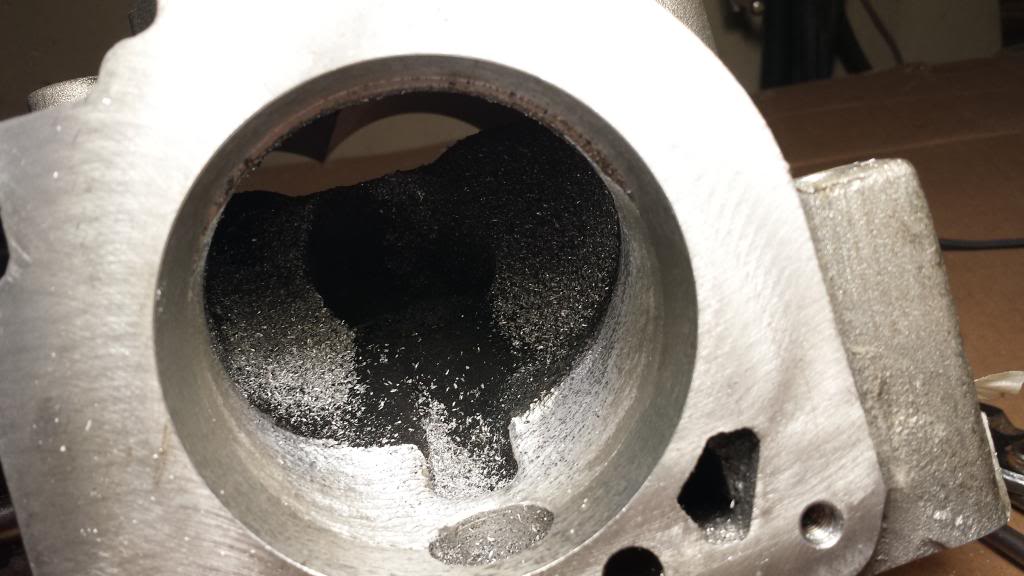
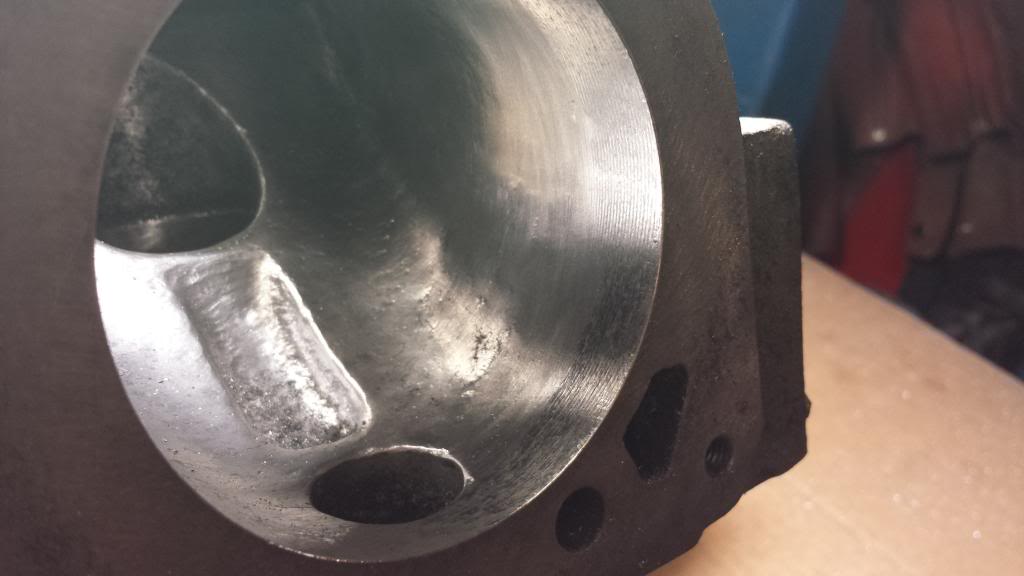
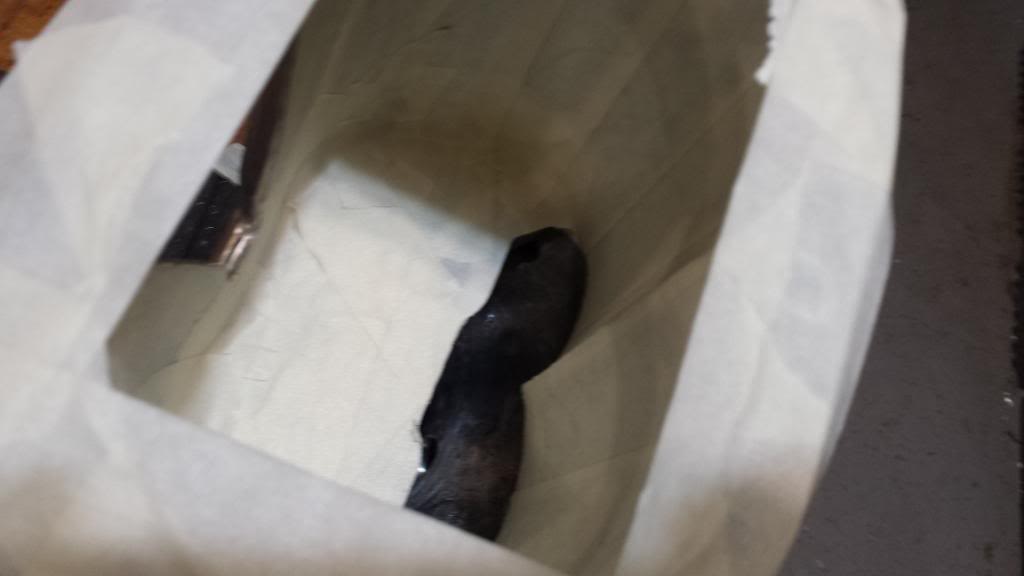
We can only bore in so far before it needs to be finished by hand. The inlet starts to shift up so it can enter at the top ends of the rotors. From here our new machined size needs to be blended, and the size taken right into the inlet:
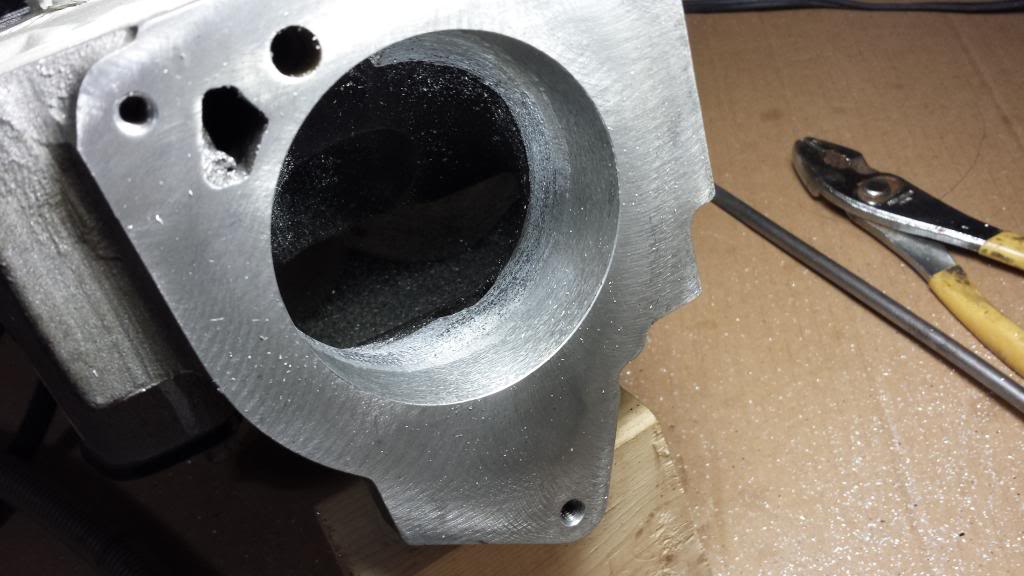
And general cleaning up on the inlet:(We will revisit the inlet later.)
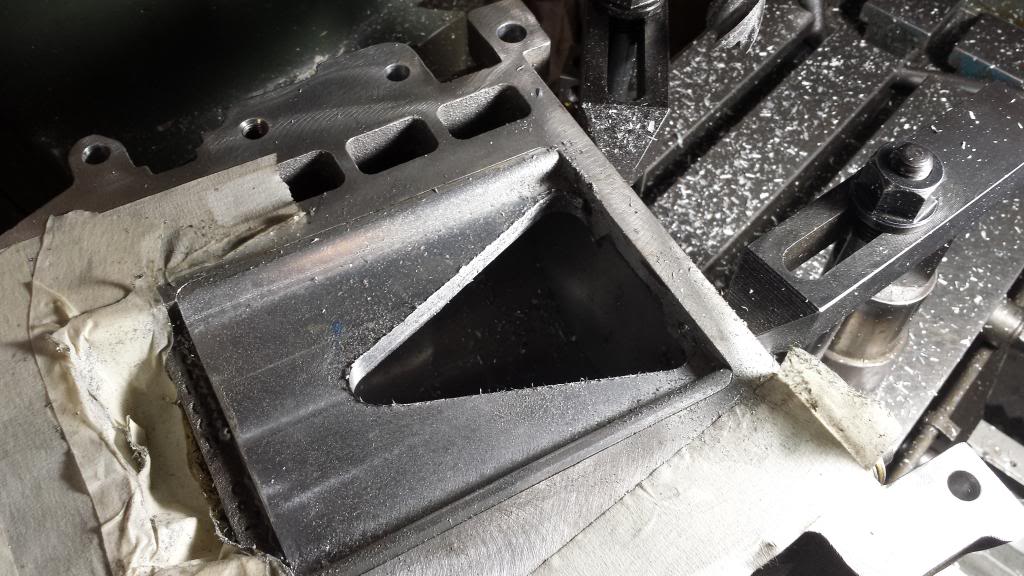
Moving to the outlet, here is how it sits:
The shapes that can't be machined need to be done by hand. Starting by knocking off the edges we don't want with a carbide burr bit:
And some work on the inside shear edge:
Then its 80 grit time on the inlet:
80 grit on the outlet:
120 on the outlet:

120 on the inlet:
Outlet to 1000:
Inlet and outlet done. Enjoy the shine, because later we trade beauty for function.


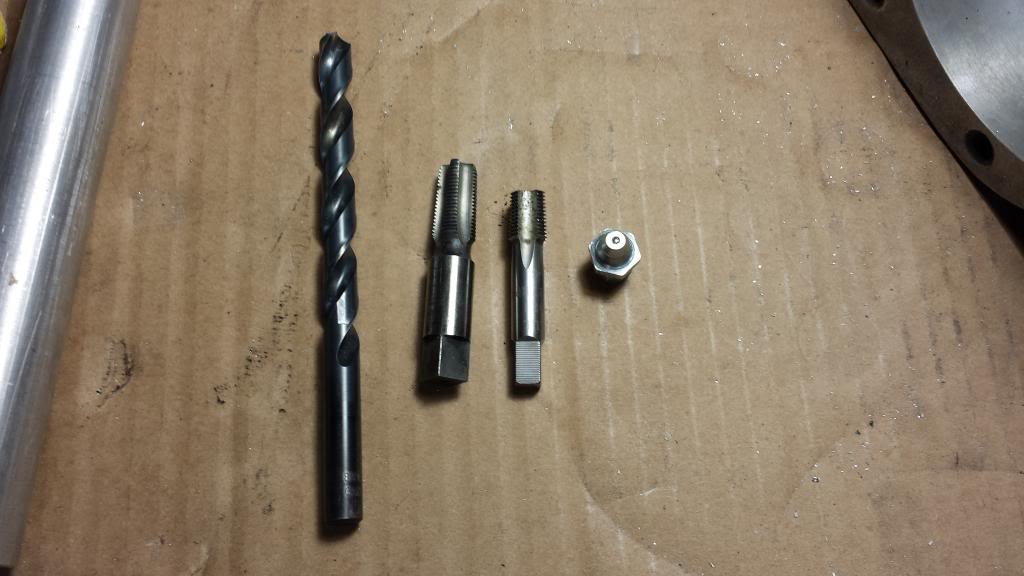
Time to get the old bearings out. Q letter drill, 1/8 NPT tap, a half cut 1/8 NPT tap, and a 1/8 npt grease nipple.
Drill and tap:
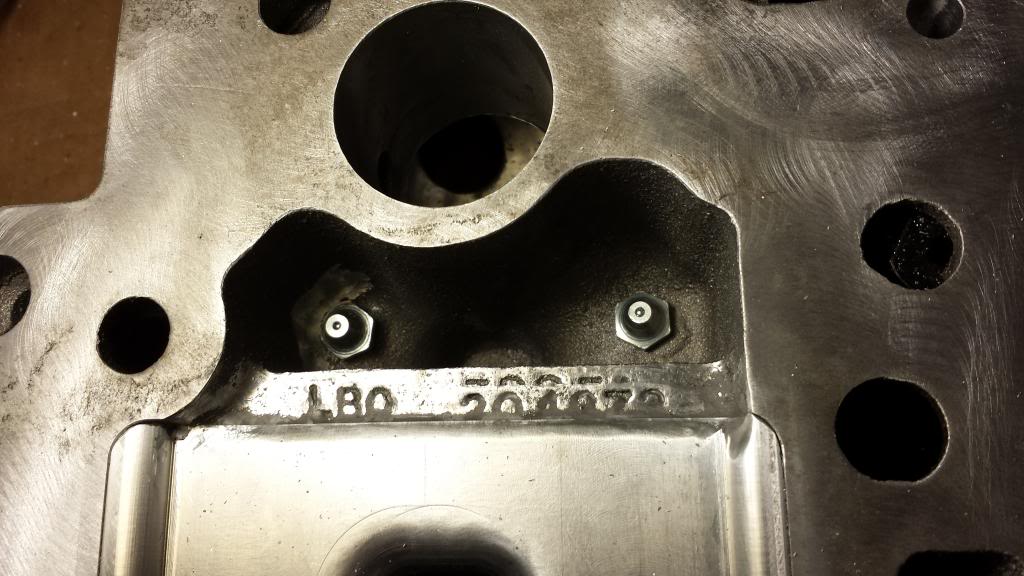
And pump in grease to pop them out. No pics of that. Grease is messy.
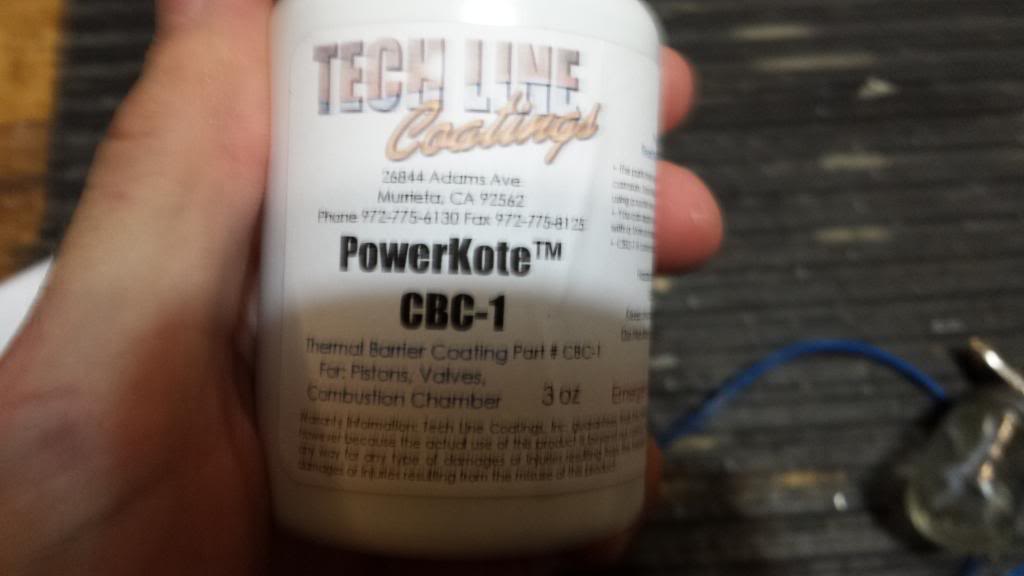
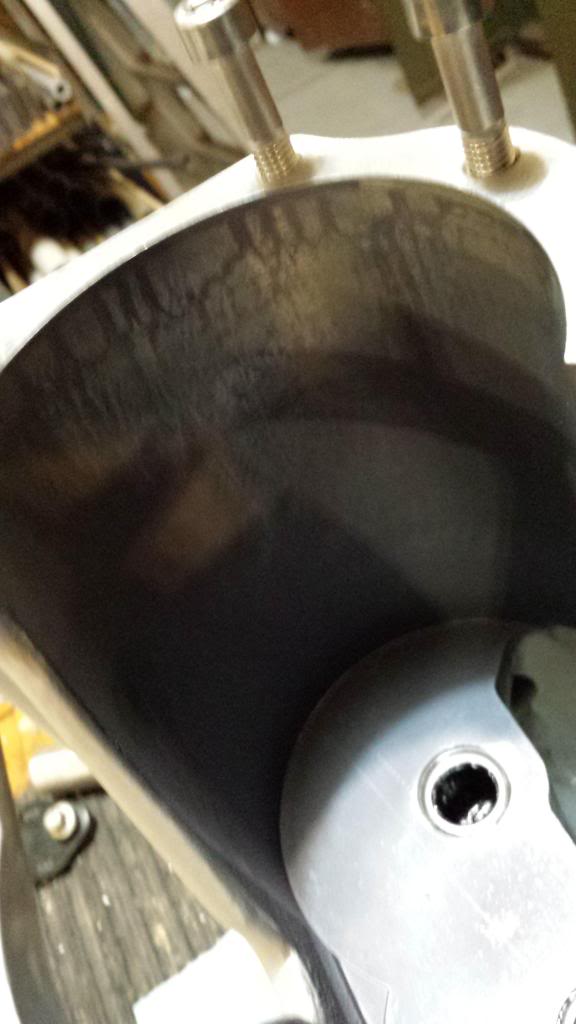
Now time for the new stuff. This blower is getting a thermal barrier treatment on the inlet/outlet and dry film lube on the rotor bores. Thermal modeling has been done on eaton blowers and one of the biggest hotspots is right where the airstream hits the "hump" of the inlet to divert up to the rotor tips. This blower is getting its inlet coated in a thermal barrier to remove this hot spot. This should help keep the air as cool as it was when entering the blower, even if its heat-soaked. The outlet also gets the same treatment. Here is the coating:
Also the rotor bores are going to get a DFL coating similar to what is used on bearings and piston skirts. It shouldn't change the tolerances at all, and is designed to burnish in on rotation. I'm not sure it will make any measurable difference, but its something to try out and can't hurt.
Both coatings get baked on at 300F for one hour. Thats where we find out if the blower and new insert plate are similar enough by way of thermal expansion to stay together.

So first masking off for the thermal barrier:

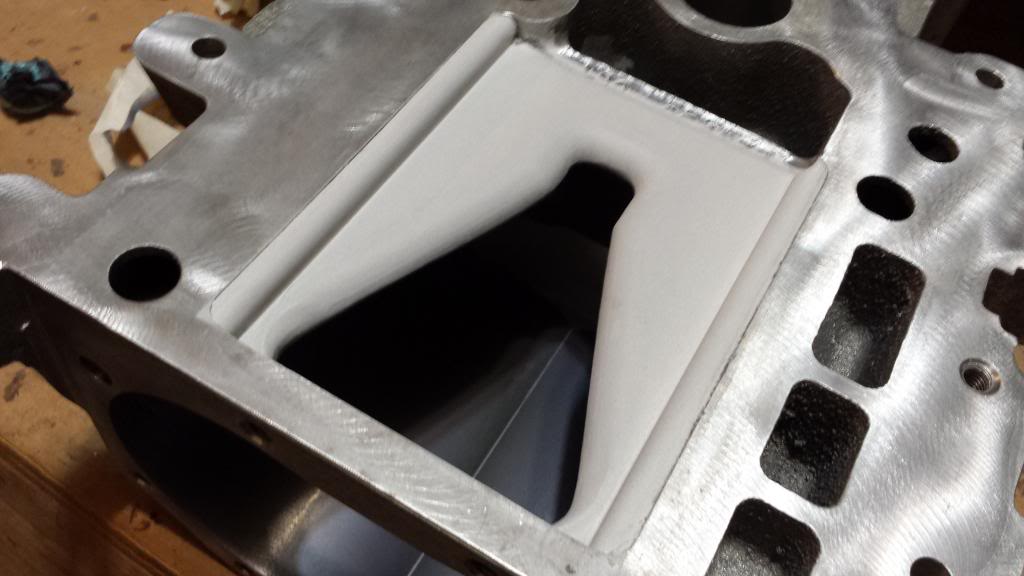
And surfaces prepped, and coated per instructions:

Inlet was also done, but I only have after baking pics. Inlet was interesting to do in such an enclosed space so it went on evenly and didn't run. But it turned out very well.
Then after dry time, masking was done for the rotor bores:
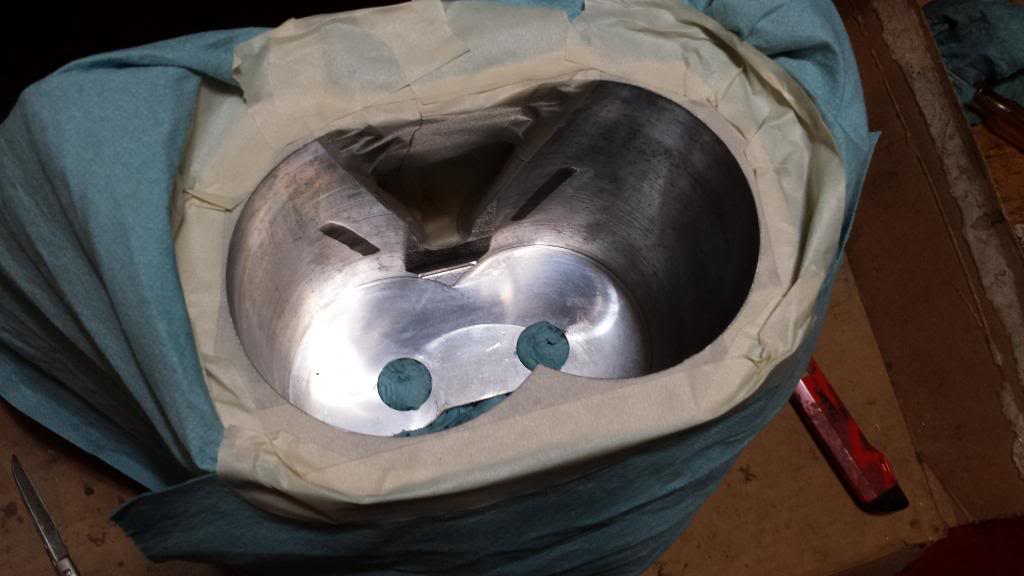
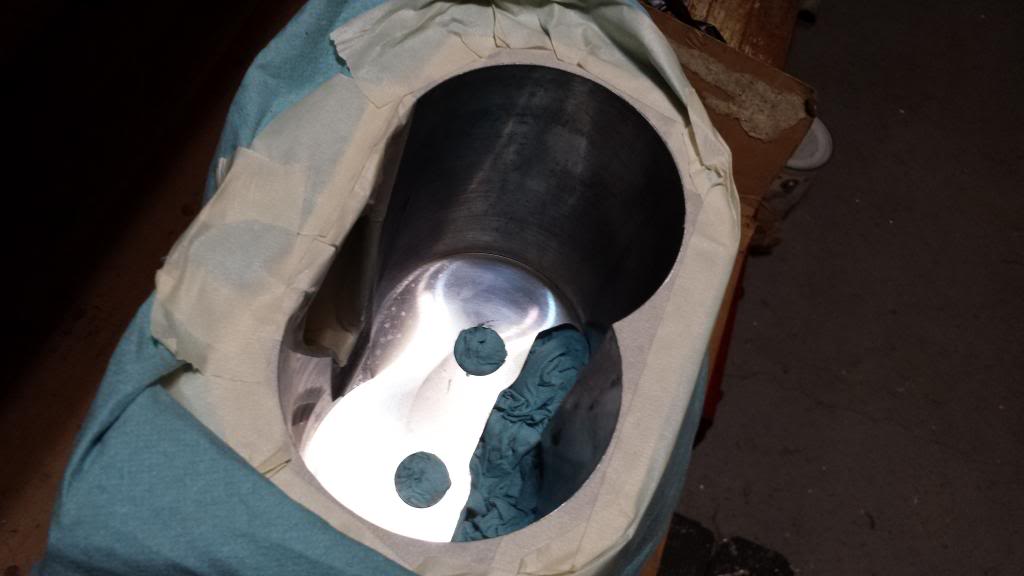

The DFL on the rotor bores turned out to be a major pain. The coating is very thin, and was hard to get in the enclosed space evenly without it running. I had a couple of runs, but its really visual. Even after cooking, the DFL coating can be rubbed, so we will let the rotors do their thing when they are installed.
After baking:

You can see some slight running at the top here:(Also note new pressed in bearings.)
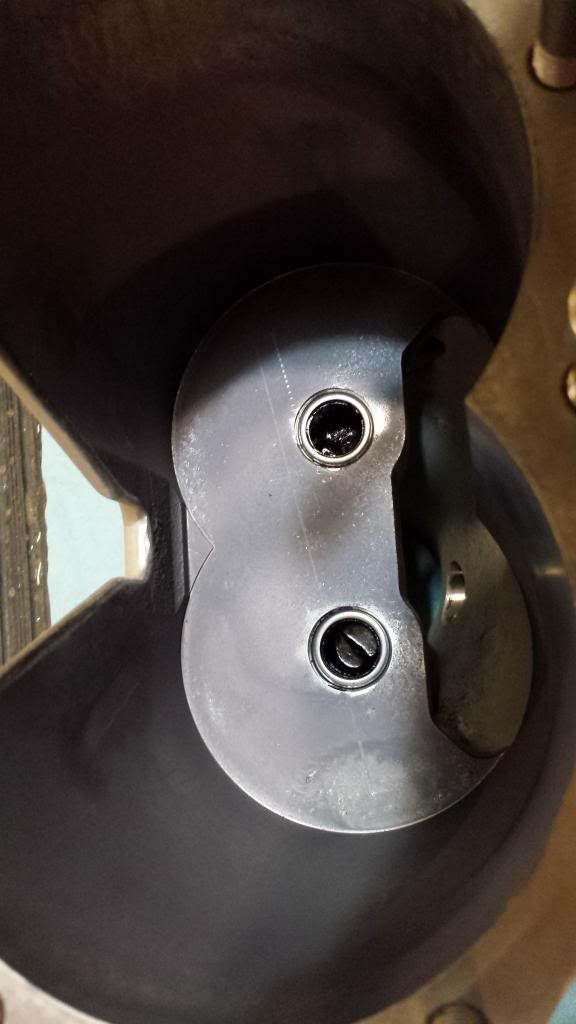
And where I first tried to rub it out, only to decide to let to let the rotors sort it out. The DFL was just a bonus anyway.
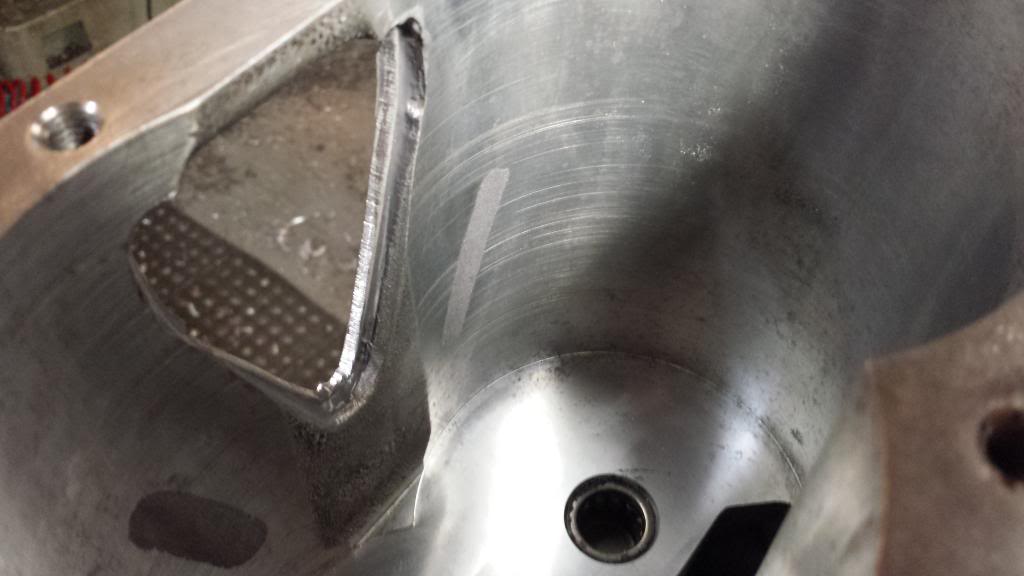
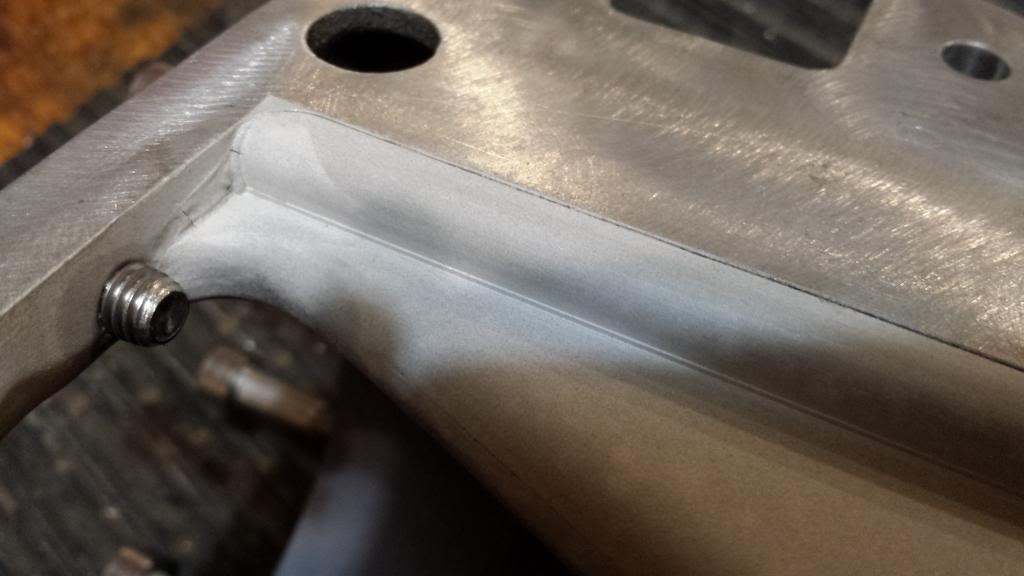
You can see some very slight shift marks here from the heat up and cool down. The machined together edges are still pretty much perfect, which is impressive considering there are three different materials squashed together there. Cast blower, insert plate, and cold weld. For it to just barely barely move heating up to 350F and down again is pretty damn good IMO:
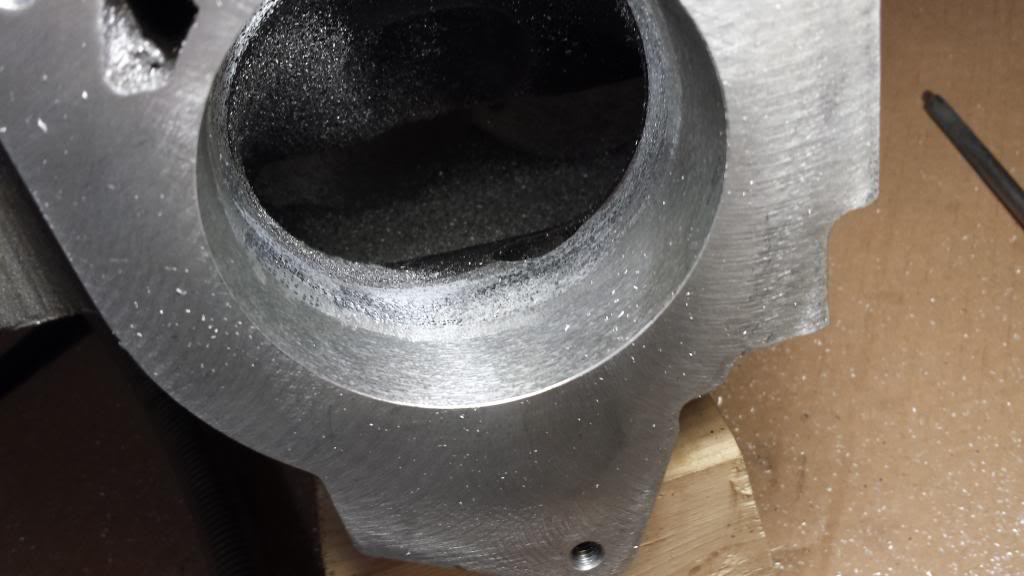
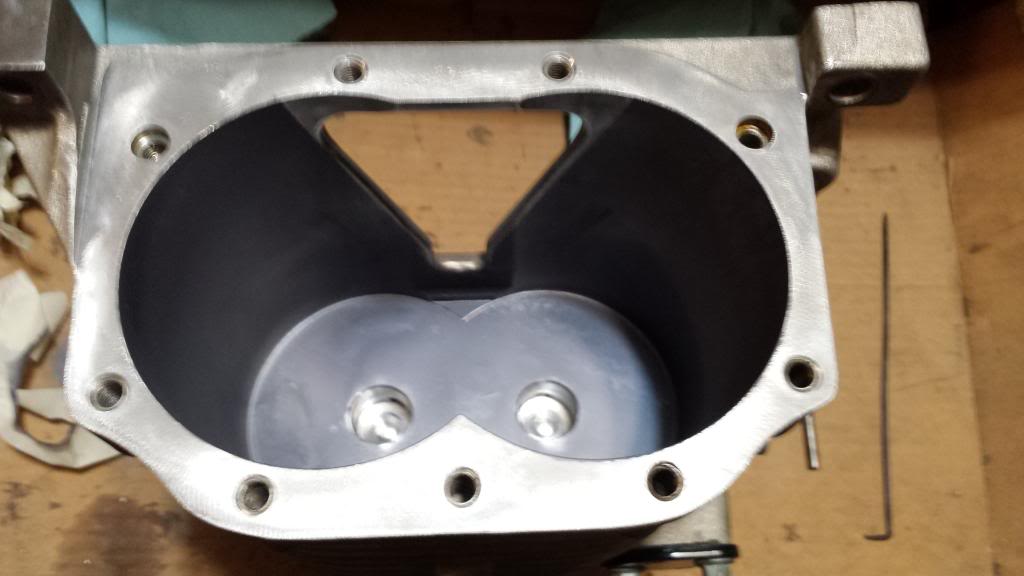
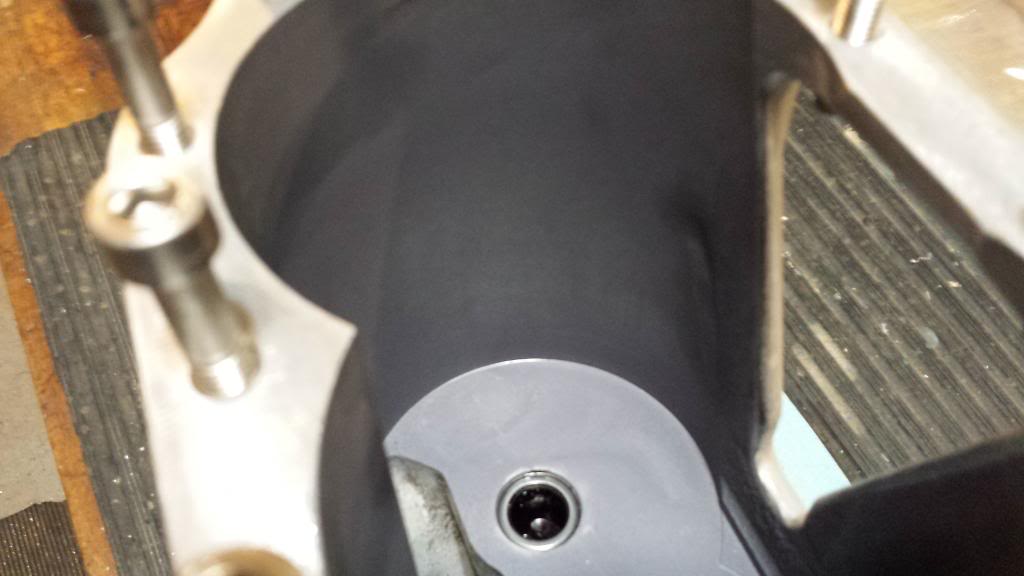
And thermal coated inlet:
Finally the finished blower casing with new stainless hardware and bits: New snout bolts are properly sized, and bottom two are slightly shorter since we removed the bolt bosses. Plus they look sweet.

Abaddon, I'd replace the PCV if I were you, since it was left in when you tank dipped it. I removed the plastic spark arrester before baking and replaced it again. The rotors might be a little snug when you slide them, but give them bit of a spin to get the DFL worked in and they should be fine. And as I mentioned over PM, inspect your existing rotor pack well before putting it in. Check specifically the tips of the rotors and look for any "tipping" of the shafts. The two shafts should be fairly solidly interlocked with each other with minimal tipping back and forth. The pack bearings should also feel smooth.
And post running vids when installed. This *should* be one of the best ported gen 3 M90 superchargers out there. The only thing that could make it better would be if it started life as a GenV, but even still its thermal properties should be fantastic. It won't be any m62, but it should also scream pretty good too.


 .. I love me a loud whining blower.. If ya know what I mean